Introduction
Maintaining your vehicle is essential for safety and performance, and one of the most important components to focus on is the brake system. Over time, brake parts will wear out and need to be replaced. Regular maintenance ensures you have a safe and reliable braking experience. This article serves as a comprehensive guide to DIY brake part replacement, particularly focusing on the steps required for successfully installing brake parts, including drum brake parts. Whether you’re a car enthusiast or just someone who wants to save money on repairs, knowing how to handle brake part replacements can empower you to take control of your vehicle’s maintenance.
What You Need to Know
Before diving into the actual installation process, it is crucial to have a basic understanding of the essential brake parts. This knowledge will not only help you during installation but will also aid in diagnoses if any issues arise later.
Brake Pads
- Function and Importance: Brake pads are a vital component of your vehicle’s braking system. They play the crucial role of creating friction against the vehicle lock discs, which is necessary to slow down or stop the vehicle. Without functioning vehicle lock pads, your ability to stop safely is severely compromised.
- Composition and Design: Brake pads are typically made from various materials, including organic compounds, metallic materials, or ceramic blends. Each material has its benefits, with certain types offering better performance under specific conditions, such as high temperatures or frequent heavy braking.
- Wear and Tear: Over time, friction from repeated use causes vehicle lock pads to wear down. As the pads thin, their effectiveness diminishes, increasing the stopping distance and potentially leading to damage to the rotors. Regular inspections are essential to monitor wear levels.
- Replacement Indicators: Signs that you may need to replace your brake pads include squeaking or grinding noises while braking, a pulsating brake pedal, or reduced braking power. If any of these symptoms arise, it is important to have your vehicle lock pads checked and replaced as necessary.
- Typical Lifespan: Depending on driving habits, the type of material in the brake pads, and the vehicle model, brake pads typically last between 30,000 to 70,000 miles. However, it’s crucial to follow your vehicle manufacturer’s recommendations for optimal performance.
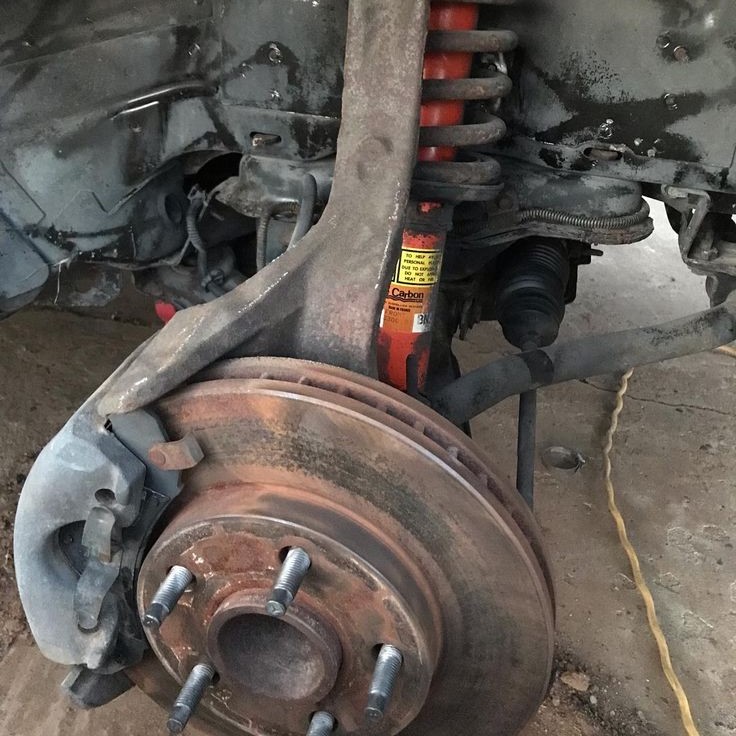
Brake Rotors
- Role in the Braking System: Brake rotors are disc components that the brake pads clamp down on when you apply the brakes. Their main function is to convert kinetic energy into thermal energy through friction, which effectively slows down the vehicle.
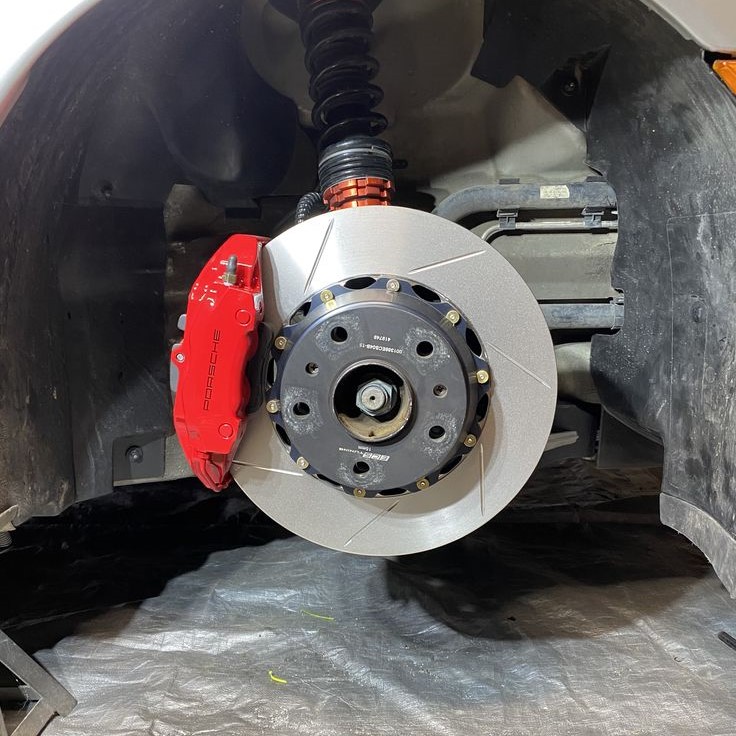
- Types of Rotors: There are several types of brake rotors, including vented, slotted, and drilled designs. Vented rotors allow better airflow during braking, while slotted or drilled rotors are designed to improve cooling and prevent brake fade under heavy use.
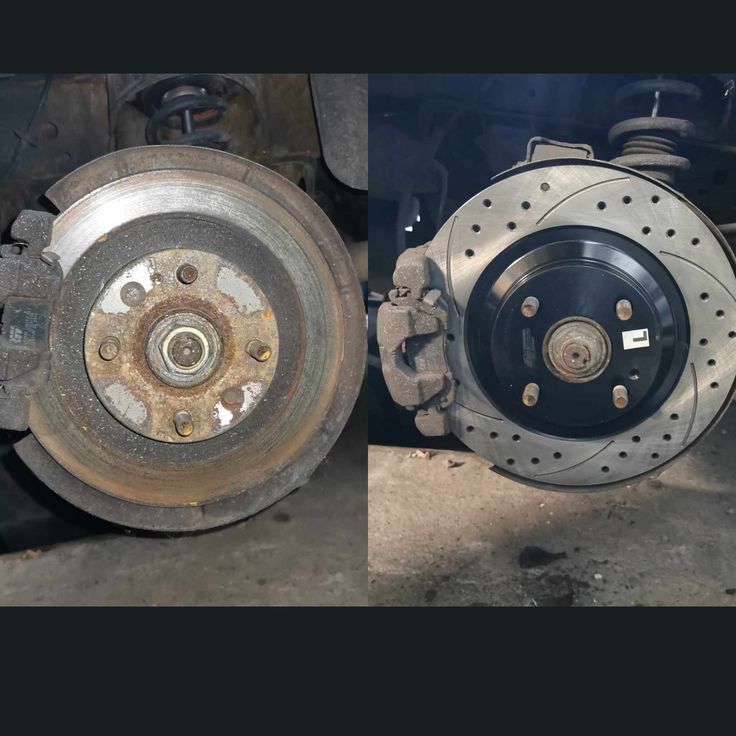
- Signs of Wear or Damage: Over time, rotors can become warped or develop cracks due to excessive heat buildup from braking. Signs that rotors may need to be replaced include vibrations or pulsations felt in the brake pedal, uneven wear, or discoloration.
- Importance of Rotor Maintenance: Regularly inspecting your brake rotors is crucial for maintaining overall braking performance. If worn down, the rotors can cause excessive wear on brake pads, leading to more frequent replacements and higher repair costs.
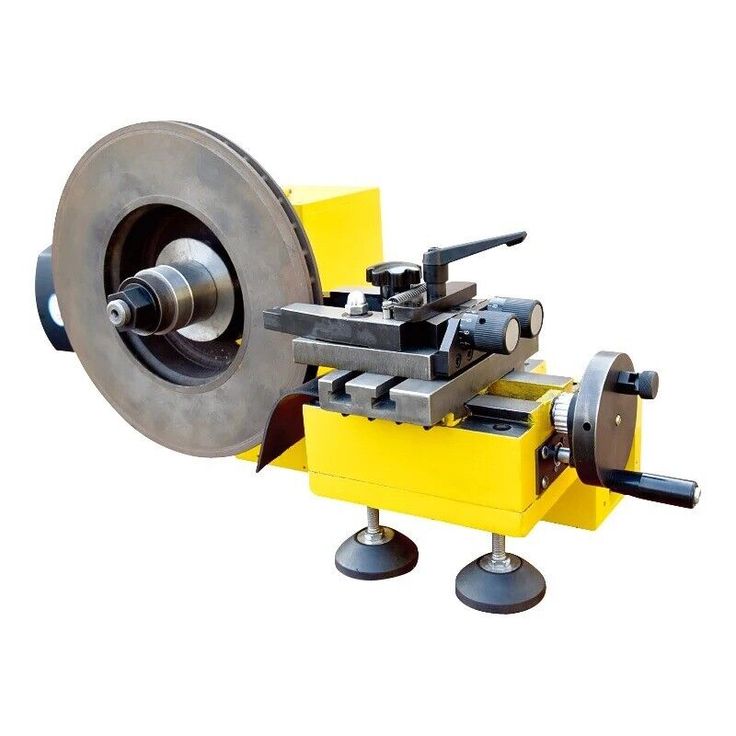
- Rotor Resurfacing: In some cases, rotors can be resurfaced to restore their flat, smooth surface. However, if the rotors are excessively worn or damaged, replacement may be necessary to ensure safe and effective braking performance.
Calipers
- Function and Importance: Brake calipers are responsible for pressing the vehicle lock pads against the rotors. When you apply the brakes, hydraulic pressure from the brake fluid pushes the calipers to squeeze the pads onto the rotors, initiating the braking process.
- Types of Calipers: There are two primary types of brake calipers—floating (or sliding) and fixed calipers. Floating calipers move along with the rotor, while fixed calipers are stationary and contain pistons on both sides of the rotor.
- Signs of Caliper Issues: A faulty caliper can lead to uneven pad wear, reduced braking efficiency, or even vehicle lock drag. Symptoms of caliper problems may include a pulling sensation during braking, unusual noises, or overheating wheels.
- Maintenance and Inspection: Regularly inspecting your brake calipers is essential to ensure they function correctly. Look for signs of fluid leaks, rust, or any physical damage. Maintenance should also include checking the condition of the piston seals.
- Caliper Replacement: If a caliper is damaged beyond repair, it will need to be replaced. While this may require a bit more investment, maintaining functioning calipers is crucial for the safety and performance of your braking system.
Drum Brake Parts
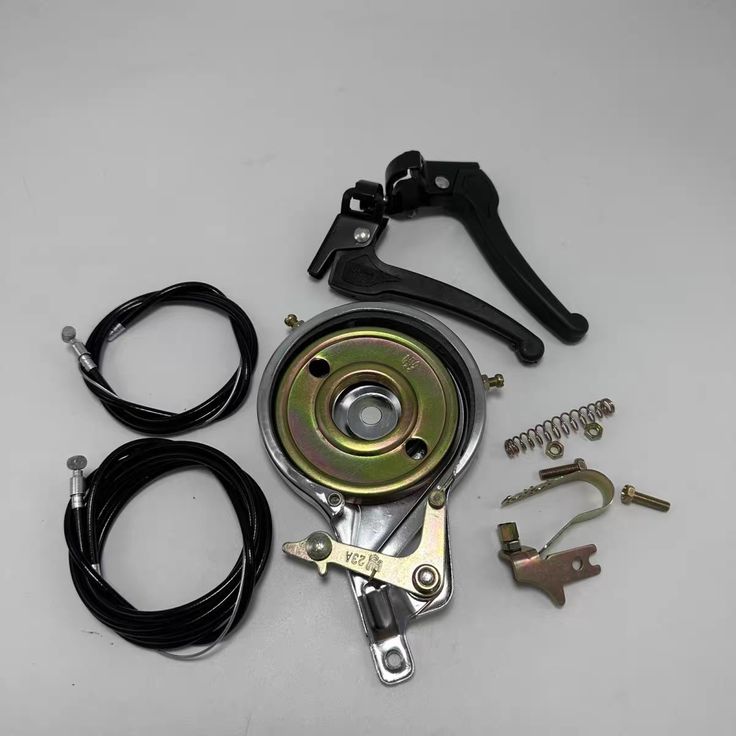
- Function of Drum Brakes: In vehicles equipped with drum vehicle lock, the drum houses the brake shoes. When the brakes are applied, the shoes press against the inner surface of the drum, generating the friction needed to stop the vehicle.
- Key Components: Drum brake parts include not only the drum and the vehicle lock shoes but also springs and adjusters. The springs help return the shoes to their original position after braking, while adjusters maintain the correct distance between the shoes and the drum.
- Signs of Wear: Over time, drum vehicle lock parts can wear down, leading to decreased braking efficiency. Signs that you may need to inspect the drum brakes include grinding noises, a spongy brake pedal, or a pulling sensation to one side when braking.
- Maintenance Needs: Regular inspection of drum vehicle lock parts is crucial. Ensure that the vehicle lock shoes are not worn down too thin, the drums do not have deep grooves, and the springs are functioning properly.
- Drum Resurfacing: Similar to rotors, drum surfaces may become worn and require resurfacing to maintain effective contact with the vehicle lock shoes. If the drums are excessively scored or damaged, replacement may be necessary to restore braking performance.
Brake Lines and Fluid
- Role of Brake Lines: Brake lines are essential for the proper functioning of the braking system. They carry fluid from the master cylinder to the vehicle lock calipers or drums, enabling the transfer of force necessary for braking action.
- Types of Brake Lines: Brake lines can be made of rubber, which is flexible, or steel, which is more durable and less prone to expansion under pressure. Steel lines are often found in performance vehicles or those requiring high levels of braking performance.
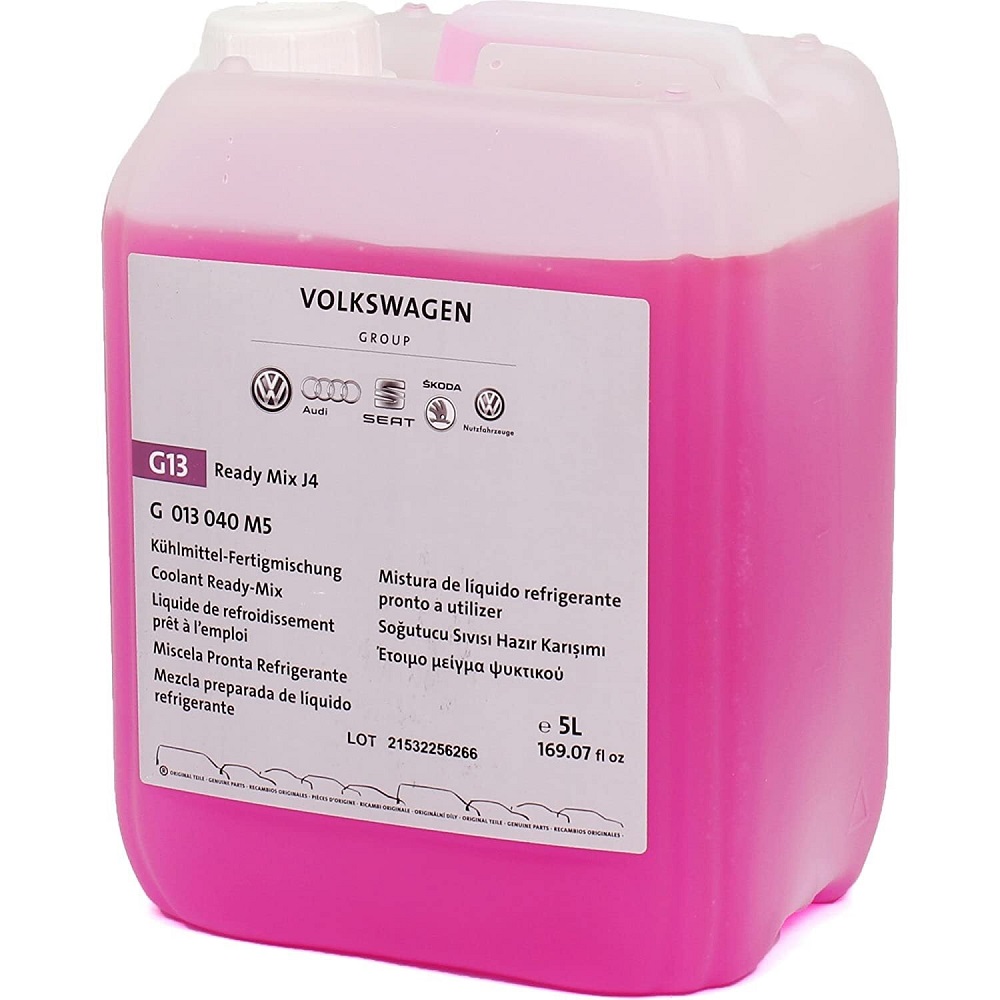
- Importance of Brake Fluid: Brake fluid is essential for hydraulic pressure in the braking system. It is crucial to use the correct type of vehicle lock fluid specified by the manufacturer to ensure optimal performance and prevent damage.
- Signs of Problems: Keeping brake lines in good condition is crucial for effective braking. Signs of potential issues include fluid leaks, corrosion, or bulging lines.
-
Regular Checks and Maintenance: Regular inspection of vehicle lock lines can help identify any issues before they become serious problems. It is also essential to check and replace brake fluid according to your vehicle’s maintenance schedule, as old fluid can absorb moisture and lead to diminished braking performance.
Tools and Materials for Part Replacement
Before you begin replacing your vehicle lock parts, it’s essential to gather all the necessary tools and materials. This preparation will streamline your process and contribute to a successful installation.
- Tools Needed:
- Socket wrench set
- Ratchet
- Brake cleaner
- C-clamp or brake tool
- Torque wrench
- Screwdrivers (flathead and Phillips)
- Jack and jack stands
- Materials:
- New brake pads or drum vehicle lock parts
- Brake grease
- New rotors (if applicable)
- Brake fluid (if needed)
- Safety Gear: Don’t forget to wear safety goggles and gloves. These protect you from dust and potential injuries while working on the vehicle lock.
Step-by-Step Guide to DIY Part Replacement
Now that you have gathered all your tools and materials, let’s dive into the step-by-step process for effectively replacing your vehicle lock parts.
Step 1: Prepare Your Vehicle
Before you start, ensure your vehicle is parked on a flat surface. Engage the parking to prevent any movement.
- Lift the Vehicle: Use a jack to lift the front (or rear, depending on which brakes you are replacing) of your vehicle and securely place jack stands underneath.
- Remove the Wheel: Use a socket wrench to loosen the lug nuts on the wheel. Once loose, remove the wheel to access the vehicle lock components.
Step 2: Remove Old Parts
Once you have access to the braking system, the next step is to remove the old parts.
- Identify the Parts: Take a moment to look at the existing brake components and note how they are positioned. This will help later when installing new parts.
- Remove Brake Caliper: If working with disc brakes, unbolt the caliper using a ratchet. Gently slide it off and place it on a safe surface without stressing the brake line.
- Remove Brake Pads: The brake pads will now be exposed. Remove the pads from their slots and discard them (or keep them if they are still in good condition).
- For Drum Brakes: If working with drum brakes, remove the retaining springs and clips to release the drum. Carefully slide the drum off and note the position of the brake shoes.
Step 3: Install New Parts
Installing the new components is straightforward, but precision is essential for safety.
- Prepare New Parts: Before installation, clean the new parts with cleaner to remove any protective grease applied during manufacturing.
- Install Brake Pads: Slide the new pads into the caliper bracket. Ensure they are positioned correctly, as they will need to align with the rotor surface.
- Reattach the Caliper: Carefully slide the caliper back over the new pads and secure it using the bolts. Ensure you torque them to the manufacturer’s specifications.
- For Drum Brakes: Install the new shoes into the drum. Make sure to attach all springs and clips, essentially reversing the removal process.
Step 4: Reassemble and Test
Now that the new parts are installed, it’s time to reassemble and conduct a thorough check.
- Reattach the Wheel: Place the wheel back onto the hub and tighten the lug nuts by hand. Lower the vehicle off the jack stands.
- Torque Lug Nuts: Once the vehicle is on the ground, use a torque wrench to tighten the lug nuts. Refer to your vehicle’s manual for the correct torque specs.
- Pump the Pedal: Before driving, pump the brake pedal several times. This action seats the new pads against the rotors and ensures they function correctly.
- Test Drive: Take a short test drive to ensure everything is working properly. Listen for any unusual sounds and check for responsiveness.
Maintenance Tips for Brake Parts
Once you have successfully completed your DIY brake replacement, it’s crucial to maintain your brake system for future performance. Here are some tips to help ensure longevity:
- Regular Inspections: Periodically check your components for wear and damage. Look for any signs of fluid leaks or abnormalities in the braking system.
- Brake Fluid Levels: Always monitor the fluid level in your reservoir. Low fluid levels can lead to brake failure, so ensure you replenish it as necessary.
- Avoid Hard Braking: Whenever possible, avoid hard or sudden braking, as this can lead to faster wear on pads and rotors.
- Professional Check-Up: Consider having your brakes inspected by a professional at least once a year. They can provide insights that you might not catch during regular checks.
- Stay Informed: Keep abreast of common issues for your vehicle model. Understanding potential problems can help you catch issues early before they escalate.
Conclusion
In conclusion, understanding how to replace vehicle lock parts, including drum parts, empowers you as a vehicle owner. By following the steps outlined in this guide, you can perform DIY part replacements successfully. Regular maintenance and knowledge about components not only enhance your vehicle’s performance but also ensure that you and your passengers remain safe on the road.
Investing time in learning and applying these DIY skills will save you money on repairs while giving you greater control over your vehicle’s maintenance. Remember, a well-functioning brake system is vital for any vehicle, so take the necessary steps to keep yours in top condition. Your vehicle—and your peace of mind—will thank you!