Introduction: Understanding Oil Capacity in Cars
If you’ve ever asked yourself how many quarts of oil in a car, you’re not alone. Engine oil is a critical component of your vehicle‘s overall health. It lubricates moving parts, reduces friction, and helps to keep the engine cool. However, the amount of oil each car requires can vary significantly based on the model, engine size, and type of oil being used. This article will explore the oil capacities of different vehicles, guided best practices for oil changes, and insights into maintaining optimal engine health.
Importance of Maintaining Proper Oil Levels
How many quarts of oil in a car? Proper oil levels are crucial for your car’s engine. Oil lubricates the engine components, reducing friction. It helps maintain smooth engine operation and prevents wear and tear. Without the correct oil level, your engine can face serious damage. Both low and high oil levels can lead to performance issues and costly repairs. Understanding why oil levels matter is key to maintaining your car’s health.
Why Oil Levels Matter for Engine Performance
Oil plays an essential role in cooling the engine. As it circulates, it absorbs heat and prevents the engine from overheating. It also ensures that metal parts don’t grind against each other. This minimizes the risk of breakdowns and extends the engine’s lifespan. A properly oiled engine uses fuel more efficiently, improving fuel economy. Low oil levels can cause overheating, while too much oil may lead to foaming or reduced lubrication.
Consequences of Low or High Oil Levels
Low oil levels can lead to severe engine damage. Parts may overheat or wear out faster due to inadequate lubrication. Over time, this could result in engine failure. High oil levels, however, can also cause problems. Excess oil may create foam, reducing lubrication efficiency. It can also put stress on seals and gaskets, leading to leaks. Keeping your oil level just right prevents these issues and keeps your engine running smoothly. Monitor it regularly to avoid unnecessary repair costs.
Factors Affecting Oil Capacity
How many quarts of oil in a car? The amount of oil your car needs depends on several factors. These factors can vary significantly between vehicles, requiring attention to ensure proper maintenance.
Engine Size and Configuration
Engine size is one of the primary factors affecting oil capacity. Larger engines typically need more oil because they have bigger components requiring lubrication. For example, a V8 engine will require more oil than a 4-cylinder engine. Complex configurations, such as turbocharged or diesel engines, may also impact how much oil is needed. They often demand higher quantities due to additional moving parts or specialized operations. Always consider your engine’s design when determining oil requirements.
Vehicle Make and Model Differences
Different makes and models of cars have varying oil capacities. Manufacturers design each vehicle’s engine with specific oil requirements, ensuring optimal performance. Sedans, SUVs, and trucks often feature different oil capacities based on their intended use. Luxury and sports cars might need more oil due to high-performance engines. Referring to the owner’s manual or consulting manufacturer guidelines is the best way to understand your car’s unique oil needs. Regular checks help you avoid mistakes when adding oil.
How to Determine Your Car’s Oil Capacity
How many quarts of oil in a car? Knowing your car’s oil capacity is essential for proper maintenance. Overfilling or underfilling can harm your engine. Follow these steps to determine the correct amount of oil for your car.
Checking the Owner’s Manual
The owner’s manual is the most reliable source for oil capacity information. It provides specific details about your car’s requirements. Locate the section on engine oil specifications. Here, you will find the right quantity and oil type for your vehicle. Always keep this manual handy for quick reference.
Online Resources and Tools
If you don’t have the owner’s manual, online resources can help. Many automakers provide detailed information on their websites. You can enter your car’s make, model, and year to find oil capacity details. Other tools, like oil lookup guides on auto parts retailer sites, can also assist.
Consulting a Mechanic
If you’re unsure, consult a professional mechanic. Mechanics have the expertise to provide accurate oil capacity data. They can also check your car during routine maintenance visits. Talking to a mechanic ensures you avoid any mistakes when adding oil. Mechanics can also address other oil-related issues during the consultation.
Common Oil Capacities for Different Types of Cars
Understanding common oil capacities helps in maintaining your vehicle’s optimal performance. Different types of cars have unique requirements based on their design and engine size.
Standard Cars and Sedans
Standard cars and sedans generally require 4 to 5 quarts of oil. Their engines are smaller compared to SUVs and trucks. These vehicles are designed for efficient everyday use. Always refer to your owner’s manual for the exact capacity.
SUVs and Trucks
SUVs and trucks often need more oil due to larger or more powerful engines. Typical capacities range from 5 to 8 quarts. If your SUV or truck comes with a turbocharged engine, it might require additional oil. Confirm with the manufacturer’s guidelines to avoid errors.
Sports Cars and Specialty Vehicles
Sports cars and specialty vehicles usually demand higher oil capacities. Performance-focused engines, like V6 or V8, may need 8 to 10 quarts. Specialized vehicles, such as luxury models, may also require specific oil types. Always check the owner’s manual or consult a mechanic for precise requirements.
How to Check Your Car’s Oil Level
How many quarts of oil in a car? Regularly checking your car’s oil level is vital for engine health. It helps prevent damage caused by low or excessive oil. Here’s how to do it effectively.
Tools Needed for Checking Oil
You don’t need many tools for this task. Here’s what to have ready:
- Clean Rag or Paper Towel: For wiping the dipstick.
- Flashlight: Useful if your engine area is dark.
- Gloves (Optional): To keep your hands clean.
Step-by-Step Guide
Follow these simple steps to check your car’s oil level:
Park on a Level Surface
- Choose a Flat Area: Before checking your oil level, it’s essential to park your car on a flat, level surface. This ensures that the readings on the dipstick are accurate and reliable. Parking on a slope can cause the oil to either settle at one end of the engine or create false readings.
- Avoid Inclines: Steering clear of inclines or declines is crucial. Doing so helps in preventing oil from pooling in one area, which might give you an incorrect indication of whether your oil level is low or adequate.
Turn Off the Engine
- Allow Engine to Cool: After parking, turn off the engine and allow the vehicle to cool down for at least 10 minutes. Checking the oil level in a hot engine can lead to burns and also produce inaccurate readings.
- Safety First: Waiting for the engine to cool not only protects you from potential injuries but also ensures that the oil settles in the oil pan, providing a consistent reading.
Open the Hood
- Locate the Hood Release Lever: Inside the vehicle, usually near the driver’s seat, locate the hood release lever. Pull the lever to release the hood. This step is vital for accessing the engine compartment.
- Secure the Hood: Once the hood pops up, go to the front of the car, lift the hood fully, and secure it with the hood prop rod if available. This ensures the hood remains open and stable while you work.
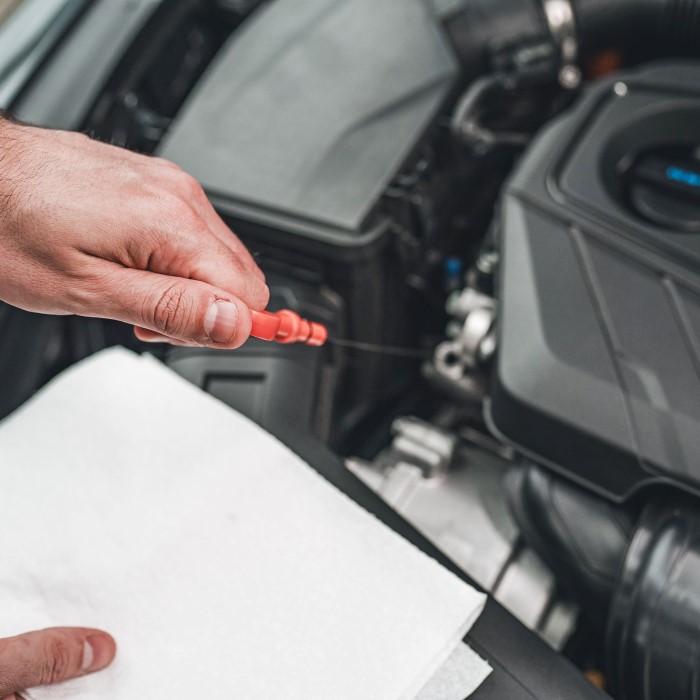
Find the Dipstick
- Identifying the Correct Handle: Look for the dipstick within the engine compartment. It is typically located near the engine block and should have a handle that is either labeled “oil” or is brightly colored (often yellow or orange) for easier visibility.
- Understanding Layout: Familiarize yourself with your vehicle’s engine layout if needed, as this can help streamline the oil-checking process.
Pull Out the Dipstick
- Remove the Dipstick Completely: Carefully pull the dipstick out from its tube. It may require a bit of force, but be gentle to avoid any damage to the tube or the dipstick itself.
- Inspect for Debris: While removing it, check for any dirt or debris on the part of the dipstick that is exposed.
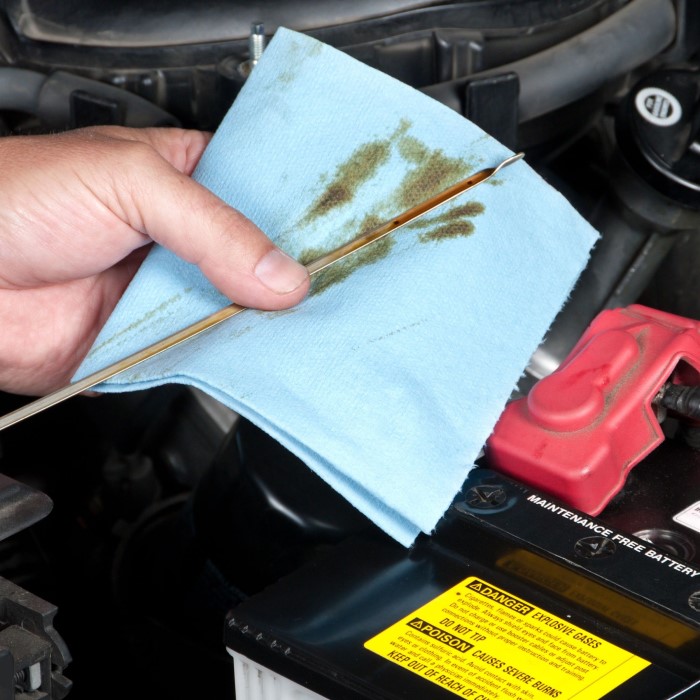
Wipe the Dipstick
- Clean the Dipstick: Use a clean rag or paper towel to wipe the dipstick thoroughly. This removes any oil residue and allows for a clear reading of the oil level when you reinsert it.
- Importance of Cleaning: Wiping the dipstick is essential for ensuring that you do not get a false reading from leftover oil that might be clinging to the dipstick.
Reinsert and Remove
- Insert Correctly: After cleaning, reinsert the dipstick back into its tube fully. It should slide in smoothly without excessive resistance.
- Pull It Out Again: Remove the dipstick once more to check the current oil level. This step allows you to assess the level accurately after cleaning.
Check the Oil Level
- Examine the Markings: Look closely at the markings on the dipstick. Most dipsticks have indicators labeled “low” and “full.” The oil should ideally be between these two levels.
- Understanding Readings: If the oil level is at or below the “low” mark, this indicates a need for more oil. Conversely, if it is close to or at “full,” your oil level is sufficient.
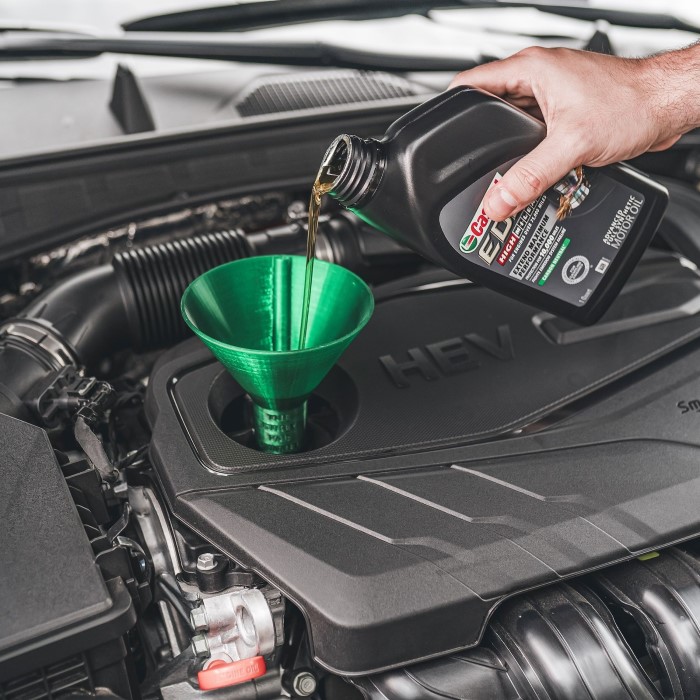
Add Oil if Needed
- Identify Required Oil Type: If the oil level is low, consult your vehicle’s manual for the recommended oil type. Be sure to have the correct oil on hand.
- Adding Oil Carefully: Using a funnel, add oil slowly to avoid overfilling. It’s best to add a little at a time and then recheck the level.
Recheck the Level
- Repeat the Process: After adding oil, wait a moment and repeat the previous steps to check the oil level again. This ensures that you have reached the optimal oil level.
- Confirming Accurate Levels: If the level is still low, continue to add oil cautiously until the dipstick indicates an adequate level. Maintaining the correct oil level is essential for proper engine function.
By performing this regularly, you can avoid costly engine repairs and extend your car’s lifespan.
Signs Your Car Needs an Oil Change
How many quarts of oil in a car? Regular oil changes are essential for maintaining your car’s performance and health. Knowing when to change oil helps avoid engine damage and costly repairs. Two key signs can indicate an oil change might be needed: warning lights and unusual engine performance.
Warning Lights and Indicators
Pay attention to warning lights on your dashboard. The ‘Check Oil’ or ‘Oil Pressure’ light may turn on. This usually signals low oil levels or poor oil quality. Ignoring these lights can lead to serious engine problems. Examine your car’s manual to understand the meanings of specific indicators. Prompt response ensures your car runs efficiently.
Unusual Engine Sounds or Performance Issues
Strange noises may come from the engine if oil levels are too low. You might hear knocking or grinding sounds. This happens because parts aren’t properly lubricated. Reduced acceleration or rough driving can also suggest oil issues. Check the oil levels immediately if you notice these symptoms. Refill or replace the oil to avoid long-term damage.
Tips for Managing Your Car’s Oil Maintenance
Proper oil maintenance keeps your car running smoothly and prevents costly repairs. Following these tips can simplify the process and ensure your engine stays in top condition.
Regularly Scheduled Oil Changes
Schedule oil changes based on your manufacturer’s recommendations. For most cars, this is every 3,000 to 7,500 miles. Some vehicles with synthetic oil can go even longer. Follow your owner’s manual for exact intervals. Routine oil changes remove dirt and debris that build up over time. Fresh oil ensures smooth engine operation and optimal fuel efficiency. Sticking to a regular schedule prevents unnecessary wear and reduces engine stress.
Choosing the Right Type of Oil for Your Vehicle
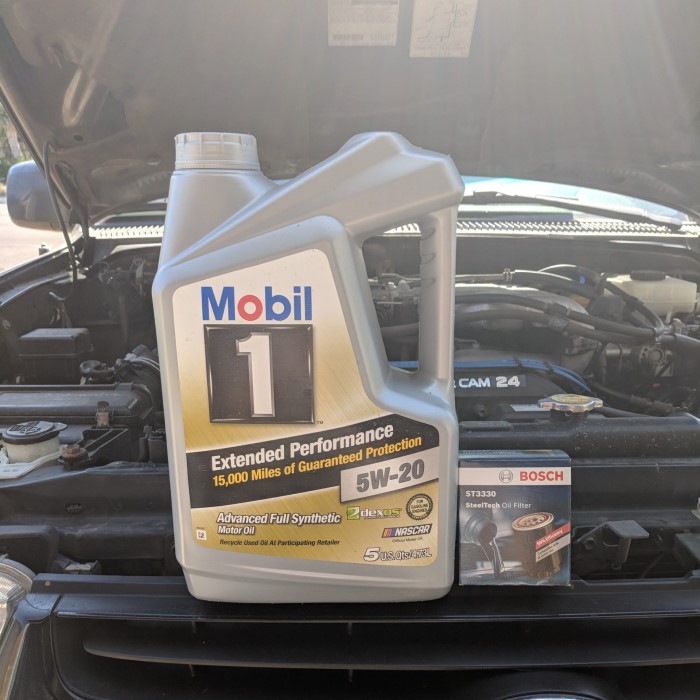
Select oil that matches your car’s specifications. Check the owner’s manual for recommendations on oil type and viscosity. Common types include conventional, synthetic, and high-mileage oils. Synthetic oil offers better performance in extreme temperatures and longer intervals between changes. High-mileage oil works best for older cars with over 75,000 miles. Using the wrong oil can lead to poor lubrication or engine damage. Always double-check that the oil meets your car’s standards before adding it.
Conclusion: Taking Care of Your Vehicle’s Oil Needs
In conclusion, knowing how many quarts of oil in a car is crucial for effective vehicle maintenance. Regular oil checks and changes ensure that your engine runs smoothly and lasts longer. Be attentive to your manufacturer’s recommendations, as they provide essential guidelines tailored to your vehicle.
Prioritizing these crucial maintenance steps will enhance your car’s performance and protect your investment in the long run. Always keep an eye on your vehicle’s oil level, choose the right oil type, and ensure that you follow the recommended change intervals. Proper care leads to better performance and longevity for your engine.