Introduction
Automotive spray paint is an invaluable tool for anyone looking to enhance their vehicle‘s appearance. Whether you’re performing minor touch-ups or overhauling an entire paint job, mastering automotive spray paint techniques is essential for getting professional-looking results. In this DIY guide, we will delve into the various aspects of using automotive spray paint, covering important preparation steps, necessary tools, and painting techniques to achieve that flawless finish you desire.
Understanding the basics of automotive spray paint will not only save you money on professional services but will also give you a rewarding experience. By the end of this article, you will be equipped with the knowledge to tackle your paint project confidently. Let’s dive in!
Choosing the Right Automotive Spray Paint
Before embarking on your painting project, selecting the right automotive spray paint is crucial. Here’s what you need to keep in mind:
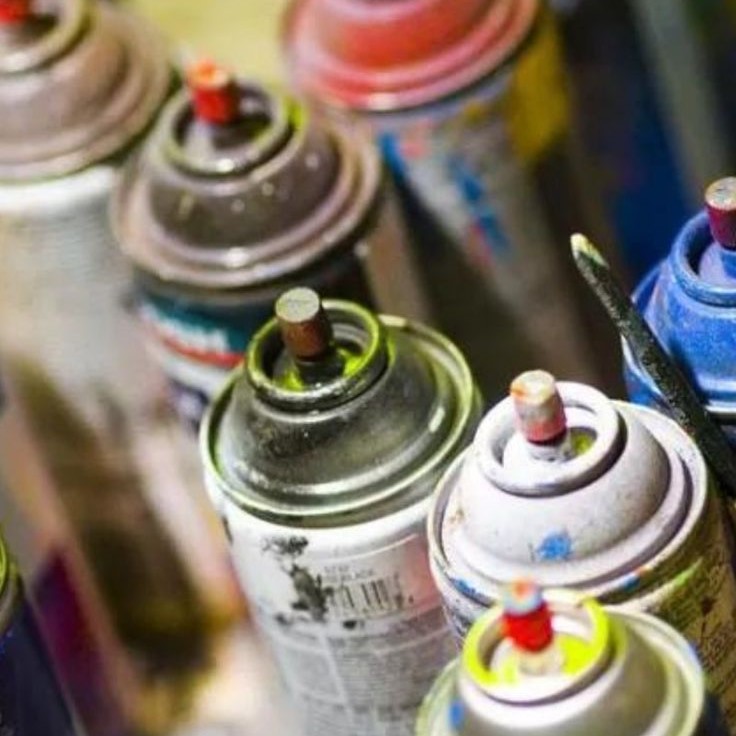
- Types of Automotive Spray Paint: Spray paints come in various formulations. You can choose from acrylic, lacquer, enamel, or urethane-based paints. Each type has its benefits and drawbacks, so consider your project needs carefully.
- Acrylic Spray Paint: Known for its quick-drying properties, acrylic paint is easy to apply and can be polished to a high gloss.
- Lacquer Spray Paint: This type offers a durable finish and can be layered for depth. However, it requires proper ventilation during application due to strong fumes.
- Enamel Spray Paint: Enamel paints provide durability and resistance to scratches. They tend to dry slowly, allowing for smoother application.
- Urethane-Based Paint: Known for exceptional durability and resistance to UV rays, urethane paints are more expensive but excellent for long-term finishes.
- Color Matching: Ensuring color accuracy is vital. Most automotive paint suppliers offer color-matching services to help you find an exact match for your vehicle’s original color. Use the vehicle’s VIN or color code, usually found in the owner’s manual or on a label inside the driver’s door.
- Quality of the Paint: Investing in high-quality automotive spray paint pays off. Although cheaper paints might be tempting, they often lack the color consistency and durability needed for cars, leading to uneven results.
Preparing for Your Spray Painting Project
Preparation is key when it comes to using automotive spray paint. Here are the essential steps to prepare your vehicle for painting:
- Gather Your Supplies: Before starting, ensure you have all the necessary tools available. Here’s a list to get you started:
- Automotive spray paint
- Primer
- Clear coat (for finishing)
- Sandpaper (various grits)
- Masking tape and plastic sheeting
- Drop cloths or newspapers
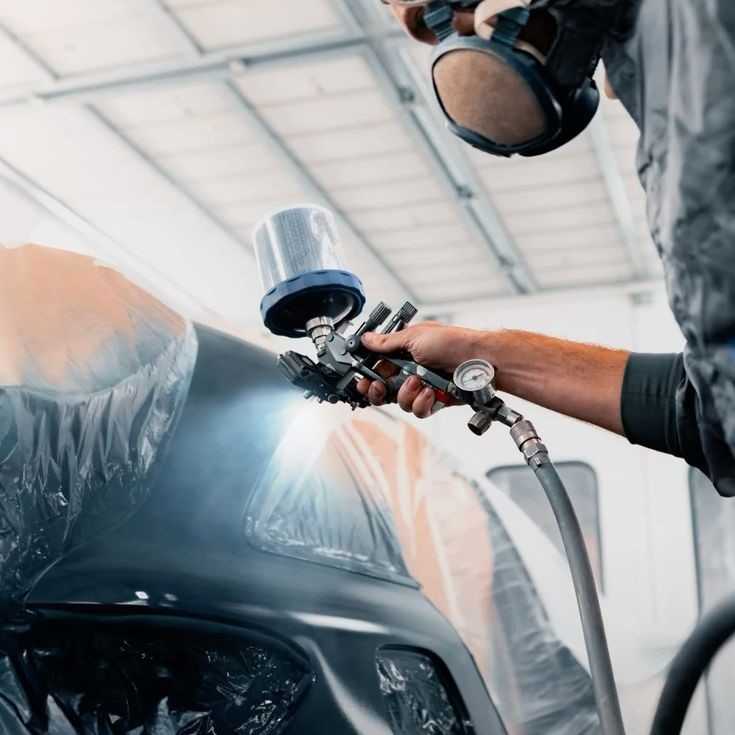
- Safety goggles and a mask
- Paint respirator (for fume protection)
- Clean the Area: Thoroughly wash the area you plan to paint. Remove any dirt, grime, or wax that may affect adhesion. A degreaser can be helpful for removing stubborn substances.
- Sand the Surface: Lightly sand the area to promote better adhesion. Use fine-grit sandpaper (around 400-600 grit) for this step. If you’re repainting a larger area, also sand down the previous paint layer to achieve a smooth surface.
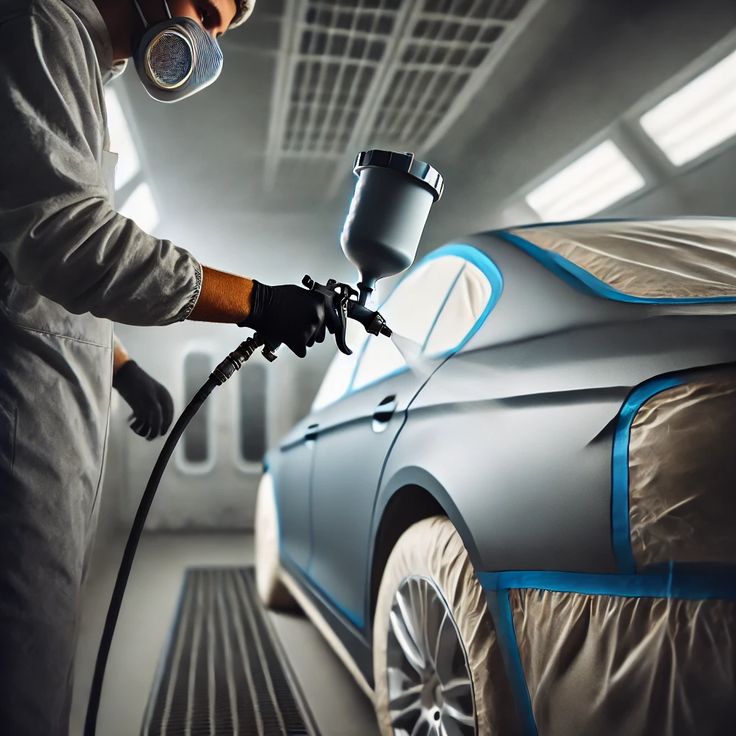
- Mask Off Surrounding Areas: Use masking tape and plastic sheeting to carefully mask off areas you don’t want to paint. Protect adjacent panels, windows, and trim pieces to prevent overspray from ruining other surfaces.
- Apply a Primer: Depending on the paint type and surface condition, you may need to use a primer before applying the color coat. Priming improves adhesion, especially on bare metal or plastic surfaces.
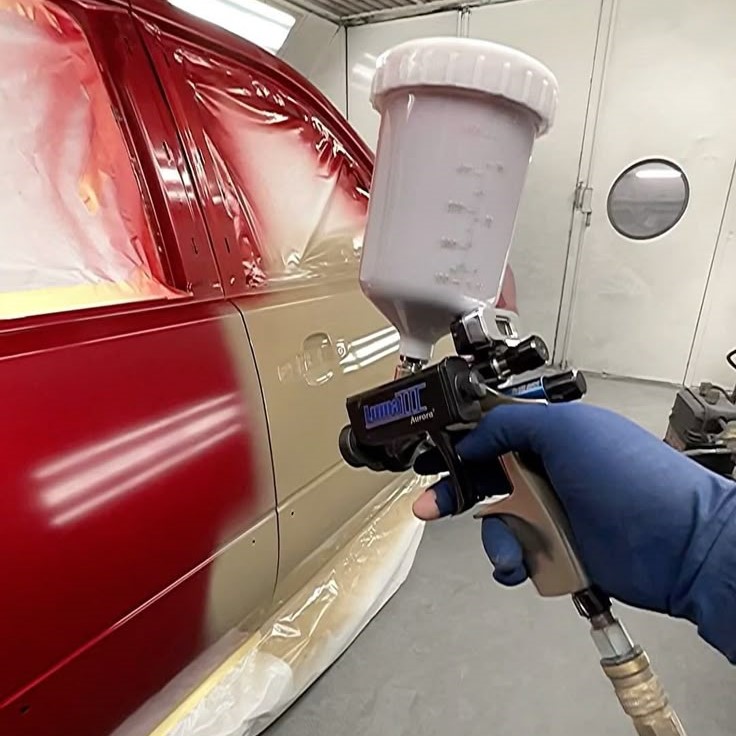
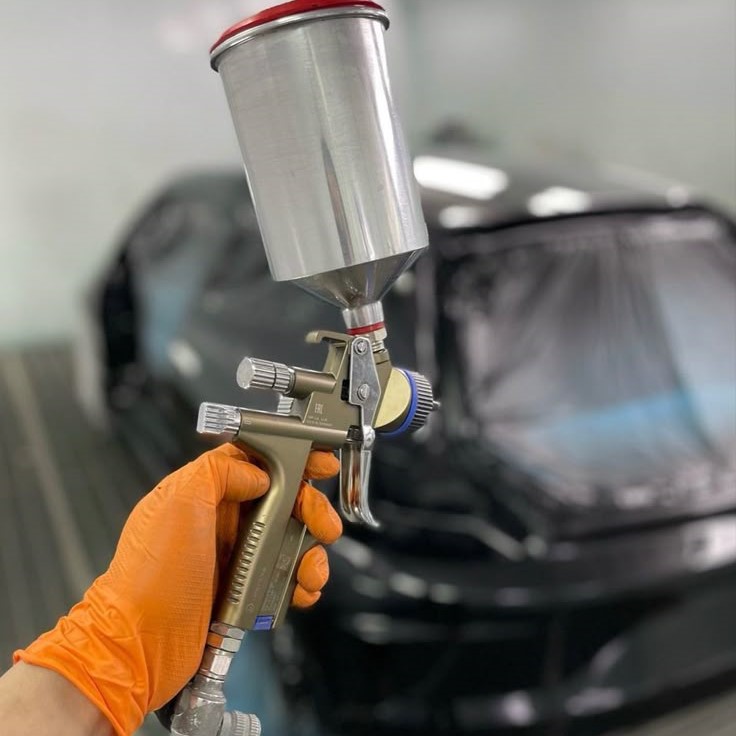
Techniques for Applying Automotive Spray Paint
Once you’ve prepared your vehicle, it’s time to apply the automotive spray paint. Here are some effective techniques to ensure a flawless finish:
- Shake the Can: Before spraying, shake the can vigorously for about 1-2 minutes. This ensures proper mixing of the paint.
- Test Spray: Before painting your car, test the spray pattern on scrap cardboard or paper. This allows you to check for even coverage and practice your technique.
- Distance and Angle: Hold the spray can 6 to 12 inches away from the surface you are painting. Maintain a steady, even stroke to avoid drips and runs. Aim the nozzle perpendicular to the surface for the best coverage.
- Spray in Light Coats: Apply several light coats rather than one thick layer. This reduces the chances of dripping and allows for better adhesion. Allow each coat to dry before applying the next, following the manufacturer’s instructions on drying times.
- Maintain Consistent Movement: Utilize smooth, sweeping motions to ensure even coverage. Start and finish your spray strokes off the edge of the panel to avoid heavy spots.
Finishing Touches: Clear Coating and Curing
After applying the color coat, adding a clear coat is essential for added protection and shine. Here’s how to proceed:
- Apply Clear Coat: After the final color coat has dried, apply a clear coat using the same spraying techniques. The clear coat adds a glossy finish and protects the paint from UV rays and environmental factors.
- Curing Time: After spraying your clear coat, allow it to cure fully. Curing time varies with conditions such as humidity and temperature. Follow the manufacturer’s guidance for optimal results.
- Post-Care: Avoid washing the vehicle for several weeks. This allows the paint to cure properly and bond effectively. During this time, be mindful of parking in shady areas to ensure a stable environment for your new paint job.
Troubleshooting Common Issues
Even seasoned DIYers encounter problems when using automotive spray paint. Here are common issues and how to troubleshoot them:
Runs and Drips
- Understanding Runs and Drips: Runs occur when too much paint is applied in one area, causing it to flow downwards and create an unwanted effect. Drips can lead to an uneven finish and may require correction for a polished look.
- Avoid Smoothing Wet Paint: If you notice runs while the paint is still wet, resist the urge to smooth them out immediately. Doing so can disturb the paint layer and exacerbate the issue, leading to more prominent defects.
- Allowing to Dry: Instead, let the paint dry completely. This period allows the paint to set properly, reducing the risk of further damage to the surface.
- Sanding for Smoothness: Once the paint has dried, you can sand the area lightly to even out the surface. Use fine-grit sandpaper to avoid creating deep scratches, enabling you to later apply another coat for a smoother finish.
Uneven Finish
- Identifying a Patchy Appearance: An uneven finish can be visible when the paint appears patchy or has inconsistent areas. This situation can arise from several factors, notably the distance between the spray can and the surface being painted.
- Adjusting Your Technique: If you find that the finish is patchy, reevaluate your spraying technique. Make sure to hold the can at the recommended distance, typically 6 to 12 inches from the surface, to ensure even application.
- Consistent Coverage: Practice consistent motion while spraying. Use smooth, overlapping strokes in one direction to provide even coverage. This technique helps in avoiding missed spots and promotes a uniform appearance in the applied paint.
- Testing Your Technique: Before starting on your actual project, practice on a scrap piece or cardboard to perfect your distance and movement. This practice will help you develop a feel for the proper technique.
Dust and Debris
- Impact of Dust on Finish: Dust settling on wet paint can ruin the finish, creating an unattractive texture that can be difficult to correct. It is crucial to maintain a clean working environment to achieve a professional look.
- Creating a Controlled Workspace: Always aim to work in a controlled environment. A garage, shed, or another covered area is ideal for painting projects. These places protect your work from outdoor elements that could impede your results.
- Cleaning the Area: Before beginning your project, sweep or vacuum the workspace to minimize dust and debris. Additionally, wipe down all surfaces to remove any lingering particles that could interfere with the paint application.
- Using Drop Cloths: Consider using drop cloths or old sheets to cover surfaces around your working area. This not only protects them from overspray but also traps dust that might otherwise settle on your freshly painted surfaces.
Color Mismatch
- Recognizing Color Discrepancies: If you notice a difference in color once the paint dries, this could be due to several factors, including insufficient mixing of the paint, uncoated areas, or the lighting conditions during spraying.
- Factors Leading to Mismatch: Insufficient mixing occurs when paint components do not blend well, leading to uneven color distribution. It’s crucial to shake the can thoroughly before use. Uncoated areas may suggest that you did not apply enough paint in certain spots.
- Adequate Lighting: Inadequate lighting during application can also lead to color mismatches. If the light is dim, it may be difficult to see the true color or detect uncoated sections.
- Returning to the Selection Step: If you encounter a color mismatch, return to the step of selecting and applying the correct color. Consider repainting the area with a properly mixed batch, ensuring that you have a consistent application in well-lit conditions to achieve an even and uniform appearance.
Conclusion
In conclusion, utilizing automotive spray paint can invigorate your vehicle’s appearance when executed properly. From initial preparation to application techniques and troubleshooting, following best practices ensures the achievement of that flawless finish.
By selecting high-quality products and investing time in preparation and application, you can transform your vehicle at home. Whether touching up minor imperfections or completing a full respray, automotive spray paint provides an excellent solution that combines creativity and functionality.
As you embark on your spray painting journey, remember the importance of patience and practice. Success comes with experience, and soon, you’ll be able to tackle any automotive painting project with confidence. Get out there, spray responsibly, and enjoy the satisfaction of achieving beautiful results!