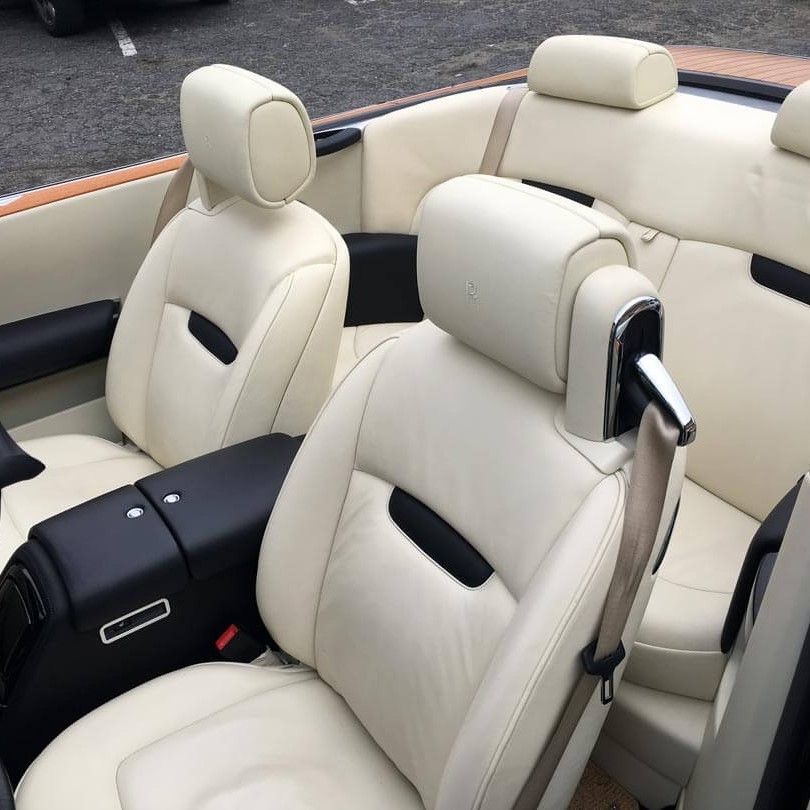
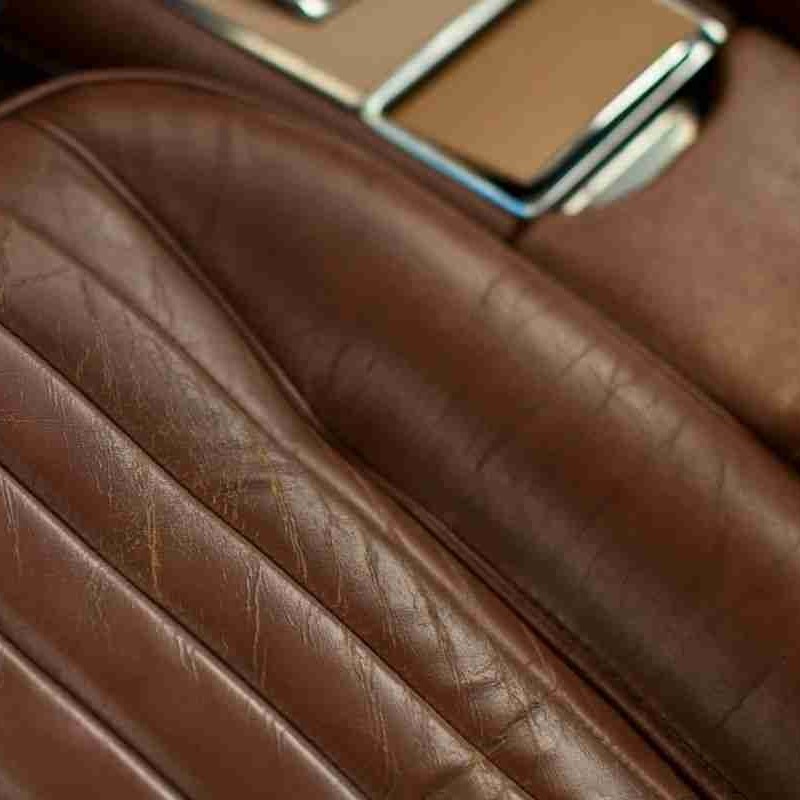
Assessing the Damage to Your Leather Car Seat
Before you dive into learning how to repair a small tear in a leather car seat, it’s crucial to assess the extent of the damage carefully. Start by cleaning the area around the tear gently using a soft cloth and a mild leather cleaner. This step will not only give you a clear view of the damage but also help you determine the right approach for repair.
Inspect the tear size, shape, and location. Is it a clean cut or does it have jagged edges? Check if the tear is limited to the leather’s surface or if it extends deeper into the material. Small, clean tears are typically easier to mend and may not require extensive treatments.
How to repair a small tear in leather car seat? Pay attention to the leather around the tear as well. If it’s dry or brittle, it might be prone to further damage when manipulated. In such cases, conditioning the area before the actual repair process might be necessary to enhance the leather’s flexibility.
Assessment is a critical step in the repair process. It helps you plan the repair method effectively, ensuring a seamless and reliable fix to the leather car seat. Understanding the nature of the tear helps you to select the appropriate materials and tools, setting the stage for a successful repair job.
Gathering the Necessary Materials for Leather Repair
Before you can begin to repair a small tear in your leather car seat, you need the right tools and materials. Here’s a checklist to help you gather everything you might need for the job:
- Leather Repair Kit: Look for a quality leather repair kit that includes a leather repair compound, backing fabric, and application tools. These kits are specially formulated for fixing tears and can be found at automotive stores.
- Leather Cleaner: To effectively clean the area around the tear before repair.
- Soft Cloth: A clean, soft cloth is necessary for applying the cleaner and for wiping the area.
- Fine Sandpaper: If the edges of the tear are rough, fine sandpaper can smooth them out.
- Leather Conditioner: This helps to restore the leather’s suppleness after the repair process.
- Colorant/Dye: Needed for color matching the repaired area with the rest of the seat.
- Sponge or Paintbrush: For applying the dye evenly.
- Heat Gun or Hair Dryer: This assists in drying the repair compound more quickly.
- Gloves: To protect your hands during the repair process.
Having these materials on hand will make the process of how to repair a small tear in a leather car seat more efficient and increase the likelihood of a professional-looking outcome. Remember to opt for quality supplies, as they will affect the durability and appearance of your repair.
Cleaning the Area Around the Tear
To ensure a successful repair to your leather car seat, commence by meticulously cleansing the area around the tear. Use your mild leather cleaner and the soft cloth you gathered. Apply the cleaner sparingly to avoid saturating the leather. Slowly and gently rub the area to remove grime, oil, or any particulates that may hinder the repair process. Make sure the leather is completely clean. This step is vital for the adhesion of the repair compound. If the leather is dirty, the compound may not stick well, leading to a repair that doesn’t last.
After cleaning, let the leather dry fully. A heat gun or hair dryer could be used to speed up this step. However, keep it on a low setting and maintain a safe distance to avoid damaging the leather. A properly cleaned and dried tear is now prepared for the next steps of your repair job. Remember that the better the preparation, the more likely your repair will blend seamlessly with the original material.
Preparing the Tear for Repair
With the area around the tear clean and dry, you are now ready to prep the tear itself. Proper preparation is key to a successful repair. Here are the steps you should follow:
- Trim Any Loose Edges: Carefully trim away any loose or frayed edges around the tear using a pair of small scissors or a razor blade. Make the edges as smooth as possible.
- Insert Backing Fabric: Cut a piece of backing fabric included in your leather repair kit to fit just inside the tear. Insert it beneath the tear to provide stability and a base for the leather repair compound.
- Tape Around the Tear: Use a small piece of masking tape to outline the area you’ll be working on. This helps to contain the repair compound and keeps the surrounding leather clean.
- Apply a Thin Layer of Leather Repair Compound: Gently apply the leather repair compound over the backing fabric and the tear. Use the application tool from your kit and spread it evenly, making sure that it just covers the tear and the backing.
By following these steps, the tear in your leather car seat is now prepped and ready for the application of the leather repair compound. Proper preparation sets the foundation for a smooth and durable repair job. Next, focus on applying the compound carefully to achieve the best results.
Applying a Leather Repair Compound
After prepping the tear, it’s time to apply the leather repair compound. This step is crucial for sealing the tear and restoring the appearance of your car seat. Here’s how to repair a small tear in a leather car seat using a repair compound:
- Apply Sparingly: Begin by applying a small amount of the compound onto the area. Less is more here.
- Smooth It Out: Use the spatula or tool provided in your leather repair kit to smooth the compound. Carefully work it into the tear and ensure it’s level with the seat’s surface.
- Remove Excess: If any excess compound spills over the tape outline, gently wipe it away with a soft cloth.
- Multiple Layers: For deeper tears, you may need to apply several thin layers. Allow each layer to dry before adding the next.
- Follow Instructions: Each repair kit may have slightly different guidance. Read the instructions carefully and follow them for the best results.
Applying the leather repair compound correctly can make a significant difference in the outcome of your repair job. Taking your time during this process will help ensure a smooth, consistent finish that blends with your leather car seat. After the compound application is complete, allow it to dry thoroughly before moving on to the next steps.
Drying and Curing the Repair Area

After you apply the leather repair compound, it’s important to let the area dry and cure properly. This will ensure the repair sets firmly and lasts longer. Follow these steps for effective drying and curing of your car seat repair:
- Allow to Air Dry: Let the compound air dry naturally. Avoid touching or pressing the area during this time.
- Use a Heat Source: If the product instructions allow, use a heat gun or hair dryer on a low setting to help speed up the drying process. Keep the heat source at least six inches away from the repair.
- Wait for Curing: Give ample time for the repair compound to fully cure. This usually takes a few hours, but check your repair kit instructions for the exact time.
- Check the Repair: Once dry, gently test the area to ensure the compound is firmly in place.
- Add Layers if Necessary: If the tear was deep, you might have applied multiple layers of repair compound. Make sure each layer dries before adding the next one. This step is crucial to avoid bumps or unevenness.
By allowing the leather repair compound to dry and cure correctly, you help to repair a small tear in your leather car seat more effectively and prevent future damage.
Color Matching and Dye Application
Once the leather repair compound has fully cured, the next step is to ensure the repair blends in with the surrounding leather. Color matching and dye application are critical for maintaining the aesthetic of your leather car seat. Follow these simple instructions to achieve a perfect color match:
- Choose the Right Colorant: Select a colorant or dye that closely matches your car seat. Leather repair kits often include various colors you can mix.
- Test the Color: Before applying it to the repair, test the dye on a small, inconspicuous area. Let it dry and check if the match is accurate.
- Apply the Dye: Use a sponge or a small paintbrush to apply the dye gently on the repaired area. Go beyond the borders to blend.
- Layer the Color: Build up the color in layers, letting each layer dry before adding the next. This will help achieve a uniform appearance.
- Blend the Edges: As you apply the dye, feather the edges to blend seamlessly with the original leather.
- Dry Completely: Allow the dye to dry thoroughly. Rushing this step can result in an uneven finish or color transfer.
Color matching and careful dye application will make your repair work almost undetectable. It’s worth taking the time to do this step right. With patience and precision, your leather car seat will look as good as new.
Conditioning the Leather After Repair
After you finish the repair and the dye application, it’s essential to condition the leather. Conditioning restores the seat’s flexibility and reduces future cracks or tears. Follow these steps:
- Apply Leather Conditioner: Choose a high-quality leather conditioner. Apply it to the entire seat, not just the repaired area.
- Use a Soft Cloth: Use a clean, soft cloth to rub in the conditioner in circular motions.
- Let it Absorb: Allow the leather to absorb the conditioner. Do not use the seat right away.
- Buff the Surface: After the leather dries, use another soft cloth to buff the area gently. This gives the leather a nice shine.
- Repeat Regularly: Condition your leather seats every three to six months. This helps keep the leather soft and prevents tears.
Conditioning is a vital step for the long life of your leather car seat. It makes the material resilient and comfortable. Do not skip this final touch to the repair process.
Tips for Maintaining Leather Car Seats to Prevent Future Tears
Keeping your leather car seats in top condition helps prevent tears and extends their lifespan. Here are practical tips to maintain your leather seats and reduce the risk of damage:
- Regular Cleaning: Clean your seats with a leather cleaner every few weeks. Remove dirt and grime that can wear down the leather over time.
- Immediate Spill Cleanup: Wipe up spills right away. Liquids can seep into leather and weaken it, leading to tears.
- Avoid Sharp Objects: Keep sharp objects away from your seats. Keys, tools, and pet claws can scratch or tear the leather.
- Use a Sunshade: Protect your car’s interior from the sun. Prolonged exposure to UV rays can cause leather to crack and tear.
- Condition Regularly: Apply leather conditioner every few months. It keeps the leather supple and less prone to cracking.
- Be Gentle: When getting in and out of your car, be careful not to scuff the seats with your shoes.
- Weight Distribution: Avoid placing heavy items on the seats. They can create pressure points and stress the leather.
By following these maintenance tips, you can help prevent small tears in your leather car seats and ensure they stay looking good for years to come.