Introduction: Understanding the Importance of Cooling Fluid
Keeping your car in optimal condition requires regular maintenance, and one essential aspect is ensuring the correct levels of cooling fluid. The cooling fluid car plays a critical role in regulating engine temperature, preventing overheating, and extending the life of your vehicle. Changing your car’s cooling fluid doesn’t have to be a complex task reserved for professionals. In this guide, we will walk you through the process of DIY cooling fluid changes. By the end, you’ll be ready to take this maintenance task into your own hands, ultimately ensuring your car runs efficiently.
What is Cooling Fluid?
Definition and Purpose
- Function of Cooling Fluid: Cooling fluid, often referred to as coolant or antifreeze, is a liquid mixture that absorbs heat from the engine and dissipates it through the radiator. This process prevents the engine from overheating and maintains optimal operating temperatures, ensuring that all engine components function effectively.
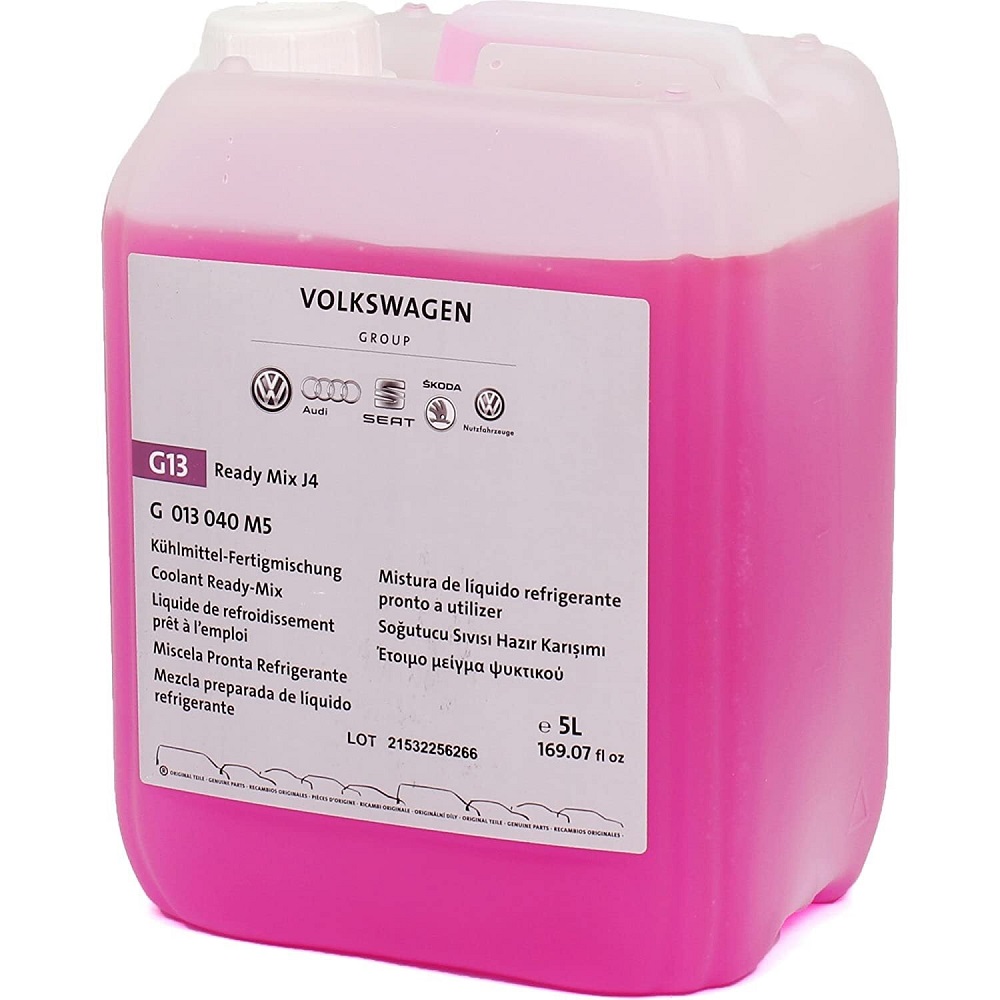
- Composition of Cooling Fluid: Typically, cooling fluid is made up of a blend of water and antifreeze, usually ethylene glycol or propylene glycol. The antifreeze lowers the freezing point and raises the boiling point of the liquid, providing protection against temperature extremes.
Types of Cooling Fluids
- Conventional Coolants: These are the most common types of cooling fluids available. They consist mainly of a water-antifreeze mixture and are sufficient for standard vehicles.
- Extended Life Coolants (ELC): ELCs contain different additives that allow them to last longer than conventional coolants, sometimes up to 5 years or 150,000 miles. These are ideal for drivers looking for longer intervals between fluid changes.
- Hybrid Organic Acid Technology (HOAT): This type contains both organic and inorganic corrosion inhibitors and combines some benefits of conventional and ELCs. It tends to be compatible with varied vehicle makes and models.
When Should You Change Your Cooling Fluid?
Signs Your Cooling Fluid Needs Replacement
- Overheating Engine: If you notice your engine temperature gauge rising above the normal range, it may indicate that the cooling fluid car is not performing effectively.
- Discoloration: Fresh coolant is typically bright green, orange, or pink. If the fluid appears rusty or murky, it’s time for a change.
- Coolant Leaks: Puddles of coolant under your vehicle can suggest a leak.
- Frequent Need for Refueling: If you find yourself refilling your coolant reservoir regularly, it may indicate a need for replacement.
- Vehicle Age: Even if you don’t notice any problems, it’s advisable to replace your cooling fluid every 2 to 5 years, depending on the manufacturer’s recommendations.

Preparing for Your DIY Cooling Fluid Change
Essential Tools and Materials
- Tools Needed:
- Wrench set
- Screwdriver
- Funnel
- Hose clamps
- Bucket or drain pan
- Materials:
- New cooling fluid (check your owner’s manual for the right type and quantity)
- Distilled water (if needed for diluting)
- Shop towels for cleanup
Safety Precautions
- Protective Gear: Always wear gloves and safety goggles while handling coolant, as it can be corrosive.
- Cool Down the Engine: Ensure your car engine is cool before starting the fluid change. Working with a hot engine can result in burns or injuries.
Step-by-Step Guide to Changing Cooling Fluid
Locate the Radiator and Coolant Reservoir
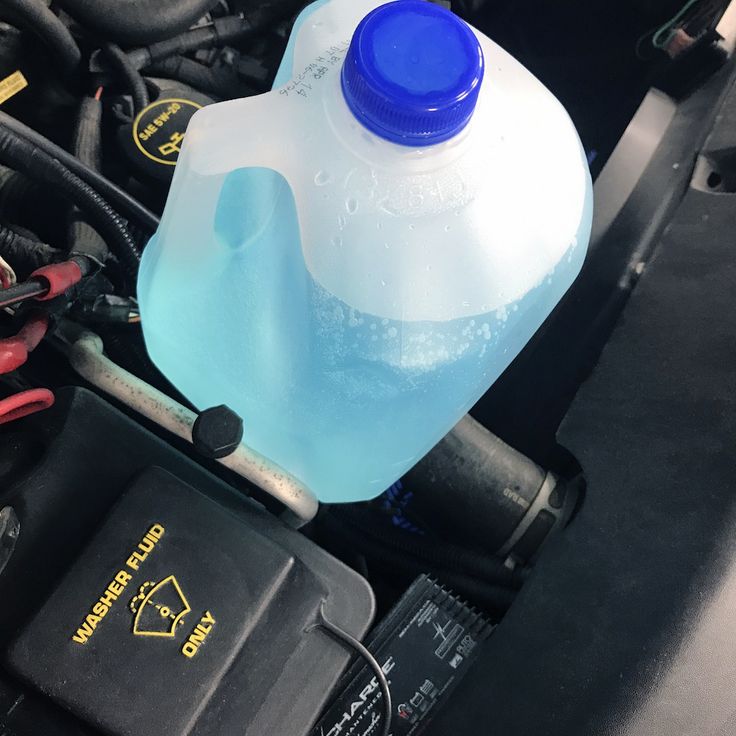
- Identifying Components: Open your car’s hood and locate the radiator. The coolant reservoir is usually a translucent tank connected to the radiator.

Drain the Old Cooling Fluid
- Removing the Radiator Cap: With the engine cool, carefully remove the radiator cap to relieve pressure.
- Draining the Fluid: Position a drain pan beneath the radiator drain plug. Open the plug to release the old coolant. Make sure all fluid is completely drained from the system.
Flush the System (Optional)
- Flushing the Radiator: For optimal results, consider flushing the radiator. Use a garden hose to blast clean water through the radiator until the water runs clear. This step removes any lingering debris and old fluid.
Add the New Cooling Fluid
- Using a Funnel: Use a funnel to pour the new cooling fluid car into the radiator neck. Ensure that you’re filling up to the recommended level mentioned in your vehicle’s manual.
- Mixing (If Required): If your coolant needs to be mixed with water, follow the manufacturer’s instructions to achieve the right ratio.
Bleed the Cooling System
- Removing Air Bubbles: After filling, start the engine and let it run for a few minutes. This allows the cooling fluid to circulate and helps remove any air pockets trapped in the system. Keep the radiator cap off while doing this, watching for bubbling.
Check Fluid Levels
- Final Inspection: Once stable operating temperature is achieved, turn off the engine and wait for it to cool. Check the coolant levels and top off if necessary. Replace the radiator cap securely.
Tips for Maintaining Your Cooling System
Regular Checks
- Routine Inspections: Develop a habit of checking the coolant levels and condition at regular intervals. This ensures your vehicle’s cooling system remains efficient.
- Monitor Performance: Stay attentive to your engine’s performance and any changes in temperature during drives.

Consult the Manual
- Understanding Specifications: Always refer to your vehicle’s owner manual for specific recommendations on cooling fluid car changes, types of coolant to use, and maintenance schedules.
Common Mistakes to Avoid
Using Incompatible Coolants
- Understanding Coolant Types: Different coolants are formulated with varying chemical compositions, such as conventional antifreeze, extended-life coolant, and hybrid organic acid technology (HOAT). Each type has unique properties designed to function optimally within specific systems.
- Chemical Reactions Risk: When incompatible coolants are mixed, they may undergo chemical reactions that can form sludge or precipitate, risking clogging critical components like the radiator and hoses. This can significantly diminish the cooling system’s effectiveness and lead to overheating.
- Verification of Compatibility: It is essential to check the owner’s manual for your vehicle to understand the recommended coolant types and their compatibility. Many manufacturers provide specific guidelines on which coolants can be safely mixed or used.
- Consequences of Mismanagement: Failing to use compatible coolants can result in costly repairs. Over time, issues stemming from improper coolant mixtures may cause major components, such as gaskets and seals, to deteriorate, leading to significant coolant leaks and engine damage.
Neglecting to Flush the System
- Importance of Flushing: Flushing the cooling system is essential for removing old coolant and contaminants, including rust, dirt, and other debris. Over time, these contaminants can accumulate, hindering the cooling system’s performance and efficiency.
- Potential Contaminants: Leaving old coolant in the system can lead to corrosion and scale buildup, which can reduce heat transfer efficiency and negatively impact the cooling system’s overall function. This buildup can also damage the water pump and other components.
- Optimal Performance: Regularly flushing the system helps maintain optimal performance by ensuring that the coolant flows freely, effectively absorbing and dissipating heat. This process prevents overheating and optimizes engine function.
- Scheduling Flushing Intervals: Consult the vehicle owner’s manual for flushing recommendations based on mileage and time intervals. Generally, it is advisable to flush the coolant every 2 to 5 years to ensure a clean and effective cooling system.
Overfilling the Coolant
- Understanding the Risks: Overfilling the coolant reservoir is a common mistake that can lead to serious problems. When the storage tank is too full, it can cause excess pressure in the cooling system, leading to potential leaks or ruptures.
- How Pressure Build-Up Occurs: As the engine heats up, the coolant expands. If the system is overfilled, there isn’t enough room to accommodate this expansion. This pressure can force coolant into areas where it shouldn’t be, such as the overflow tube or through weak points in the system.
- Identifying the Right Level: Always check the vehicle’s owner manual for specifications on the proper coolant level. Most reservoirs have markings that indicate minimum and maximum levels. Ensure the coolant is added according to these guidelines to avoid overfilling.
- Consequences of Overfilling: Over time, the pressure build-up from overfilling can lead to coolant leaks from seals, hoses, or even the radiator. In the worst-case scenario, it can result in catastrophic failures such as blown head gaskets or cracked engine blocks, which can be very costly to repair.
Conclusion: Take Charge of Your Vehicle’s Care
In conclusion, performing a cooling fluid car change is a straightforward yet crucial maintenance step every car owner should embrace. Through regular checks and DIY changes, you can ensure that your vehicle runs smoothly and avoids overheating issues. By following this comprehensive guide, you not only foster a deeper understanding of your vehicle but also empower yourself to take charge of its care.
With the right tools and approach, changing your cooling fluid can be a rewarding activity. It enhances your vehicle’s performance and contributes to its longevity.