Introduction: Why Remove Dealer Decals?
When you purchase a vehicle from a dealership, it often comes with dealer decals that can be visually unappealing. Many car owners wonder how to remove dealer decal from car effectively and safely. Removing these decals can enhance your vehicle‘s appearance and restore its original aesthetic. Additionally, it eliminates any branding the dealership may have added, allowing you to personalize your car further. In this guide, we’ll provide an extensive, step-by-step process for removing dealer decals, ensuring you understand everything you need to achieve a clean result.
Understanding Dealer Decals
1. What Are Dealer Decals?
Dealer decals are stickers or emblems that dealerships typically place on vehicles. These can include the dealership’s name, logo, or any promotional messages. While these decals are intended to advertise the dealership, many car owners find them unnecessary or unattractive.
- Common Placement: You often find dealer decals on the rear bumper, rear window, or sides of the vehicle. Their locations aim to ensure visibility, but this can clash with your personal style.
- Potential Issues: Beyond aesthetics, these decals can sometimes cause damage if they are not removed properly. The adhesive can leave residue, and improper removal can scratch the paint or leave behind markings.
2. Why You Should Remove Them
How to remove dealer decal from car? There are several compelling reasons to remove dealer decals from your car:
- Personalization: Removing the decals allows you to customize your vehicle according to your tastes. You can choose new decals or graphics that better represent your personality.
- Increase Resale Value: A car that appears free of dealer branding can be more appealing to potential buyers. Many buyers prefer a clean, unbranded vehicle.
- Improved Appearance: Removing the decals can make your car look cleaner and more polished, enhancing its overall aesthetic.
Tools Needed for Removal
1. Essential Equipment
Before starting the removal process, ensure you have the right tools at hand. Here’s a list of what you will need:
Heat Gun or Hair Dryer
- Importance of Heat: A heat gun or hair dryer is essential when removing decals from surfaces, particularly on vehicles or walls. Warming up the adhesive enables it to become more pliable, making the decal much easier to peel off without causing damage.
- Method of Use: When using a heat gun or hair dryer, hold the tool a few inches away from the decal. Start at the lowest heat setting to avoid overheating the adhesive or the surface you’re working on. Move the tool in a sweeping motion to evenly warm the decal.
- Check Adhesive Softness: As you apply heat, periodically check if the adhesive has softened by gently attempting to lift the edge of the decal. If it’s still not peeling easily, continue heating for a little longer before trying again.
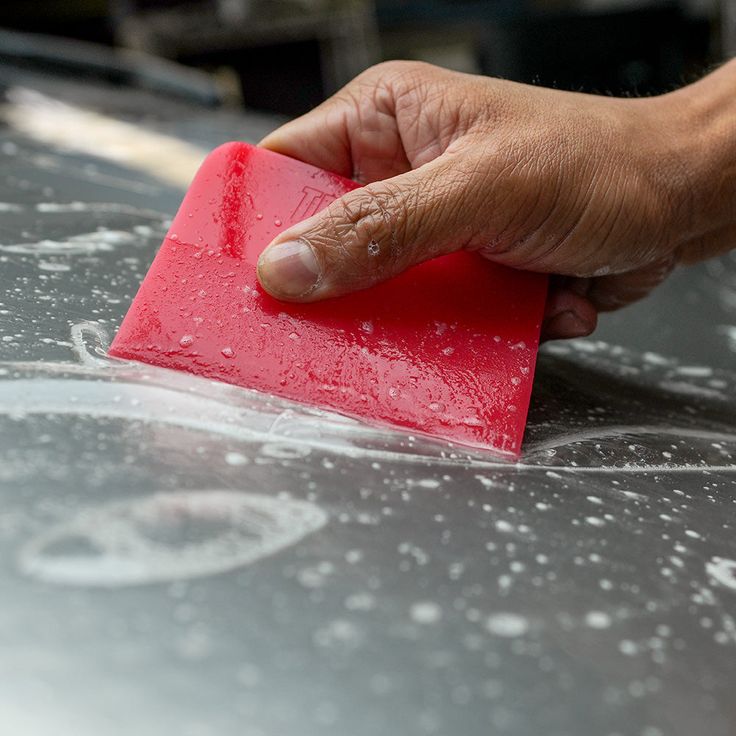
Plastic Scraper or Putty Knife
- Gentle Lifting: A plastic scraper or putty knife is invaluable for gently lifting the edges of the decal without damaging the underlying surface. Unlike metal tools, which can leave scratches or gouges, a plastic scraper minimizes the risk of harm.
- Technique: Slide the plastic scraper or putty knife under the edge of the decal with a gentle motion. Avoid applying too much force initially; if the decal doesn’t lift easily, apply more heat to soften the adhesive further before trying again.
- Versatility: Besides decals, plastic scrapers can also be used for other jobs, such as removing stickers or cleaning surfaces without scratching. Having one handy is useful for a range of household or automotive tasks.
Adhesive Remover
- Purpose of Adhesive Remover: An adhesive remover is crucial for breaking down any leftover residue after the decal has been removed. These solvents are formulated to dissolve adhesives without harming the paint or underlying surface.
- Recommended Products: Popular products like Goo Gone or rubbing alcohol have proven effective in quickly breaking down adhesive bonds. Always check the label to ensure that the adhesive remover is safe to use on your specific surface type.
- Application Method: Apply the adhesive remover directly to the residue using a cloth or directly from the spray bottle, if available. Allow it to sit for a few moments to penetrate and break down the adhesive before attempting to wipe it away.
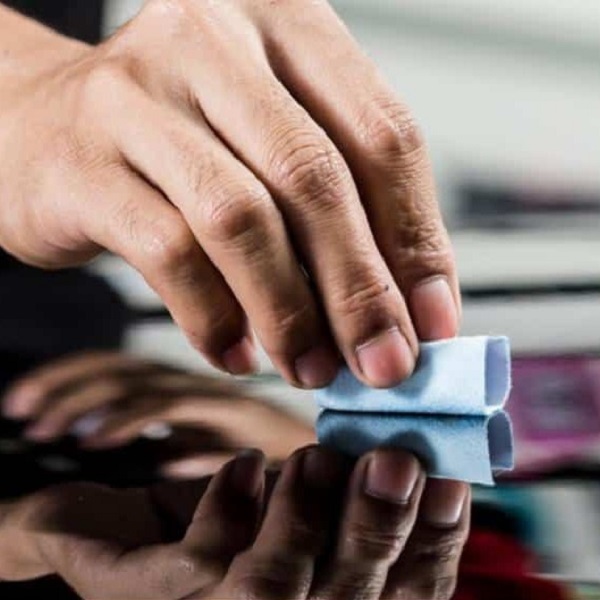
Microfiber Cloth
- Ideal for Cleaning: A microfiber cloth is the best choice for cleaning and buffing surfaces after decal removal. Due to their soft fibers, microfiber cloths are gentle enough to avoid scratching but effective in trapping dirt and residue.
- Cleaning Technique: After applying an adhesive remover and ensuring the adhesive is breaking down, use a clean microfiber cloth to wipe away the residue. The cloth can pick up both the solvent and any remaining adhesive, leaving a clean, smooth surface.
- Reusability: Microfiber cloths are washable and reusable, making them an eco-friendly choice for cleaning. They can also be used for a variety of cleaning tasks around the home or vehicle, from dusting to window cleaning.
Warm Water and Soap
- Preparation of Cleaning Solution: A bucket of warm, soapy water is an excellent solution for cleaning up any residues left behind after the decal removal process. The warmth helps to dissolve residual adhesive further, making cleanup easier.
- Application Method: Mix a mild dish soap with warm water. Dip a clean cloth into the solution, wring it out, and gently wipe the area where the decal was applied. This aids in lifting any stubborn residues and helps to restore the surface to its original condition.
- Final Rinsing: After scrubbing the area with soapy water, follow up by rinsing the area with clean water to remove any soap residue. Dry the surface with a clean microfiber cloth to prevent water spots or streaks.
2. Safety Gear
While removing dealer decals is generally safe, it is wise to take precautions:
- Gloves: Wearing gloves protects your hands from adhesive residues and chemicals in adhesive removers.
- Safety Glasses: If using a heat gun, it’s best to wear safety glasses to shield your eyes from debris or heat.
Step-by-Step Guide to Removing Dealer Decals
1. Preparation
Before you begin the removal process, prepare the area:
- Choose a Suitable Environment: Find a shaded, dry area to work in. Direct sunlight can cause the adhesive to heat unevenly.
- Gather Your Tools: Collect all necessary tools and lay them out for easy access during the removal process.
2. Heat the Decal
Using a heat gun or hair dryer, apply heat directly to the decal:
- Warm the Adhesive: Move the heat source back and forth over the decal for about 30 seconds. The goal is to soften the adhesive without causing damage to the paint.
- Test the Adhesiveness: After heating, gently lift the corner of the decal with a plastic scraper to see if it starts to separate. If not, apply more heat.
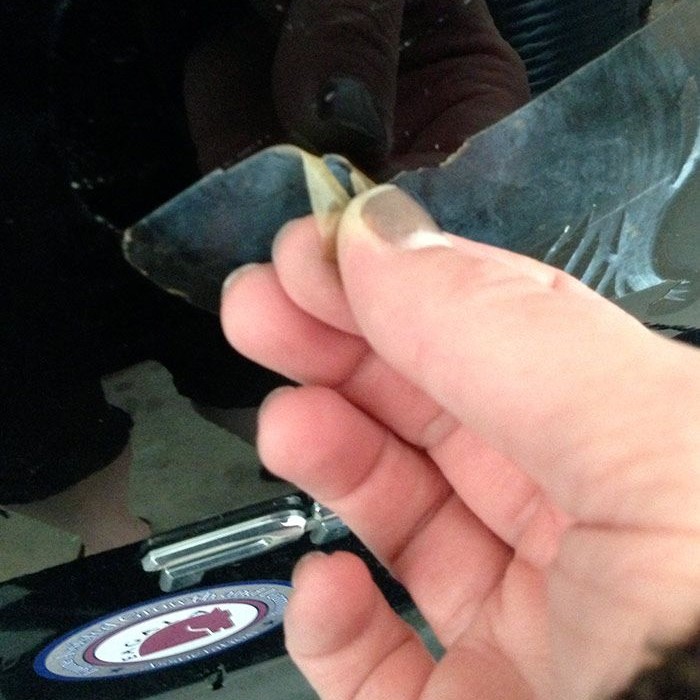
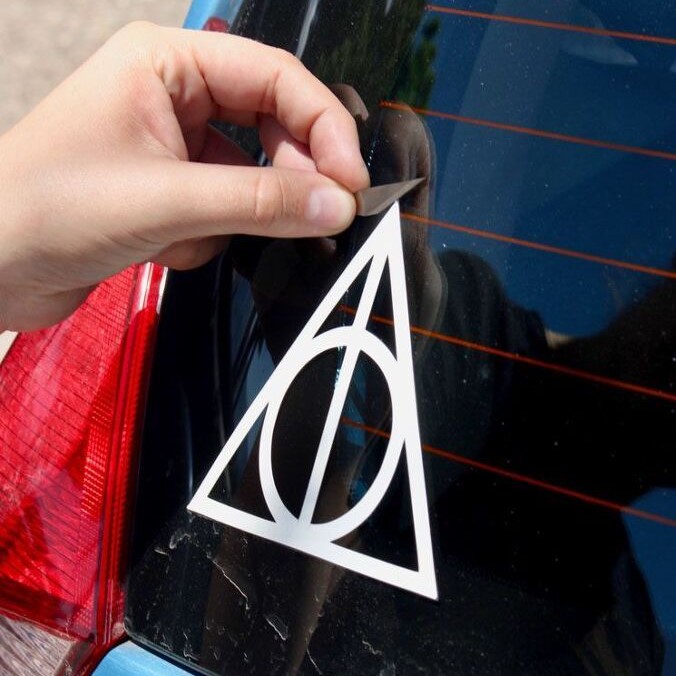
3. Peel Off the Decal
Once the adhesive has softened, it’s time to remove the decal:
- Start from the Edge: Using the plastic scraper, begin at the edge of the decal. Slowly and gently work your way beneath it, lifting as you go. Apply even pressure.
- Removing the Entire Decal: As you move the scraper along, the decal should start to come off easily. If you encounter resistance, apply more heat to soften the adhesive further.
4. Clean Off Residue
After successfully removing the decal, there will often be adhesive residue left behind:
- Apply Adhesive Remover: Soak a cloth in adhesive remover or rubbing alcohol, then gently rub the residue to dissolve it. Always follow the manufacturer’s instructions for the product.
- Wipe Clean: After the residue has been lifted, use a clean microfiber cloth soaked in soapy water to wash the area. This will remove any remaining chemical traces and prevent damage to the paint.
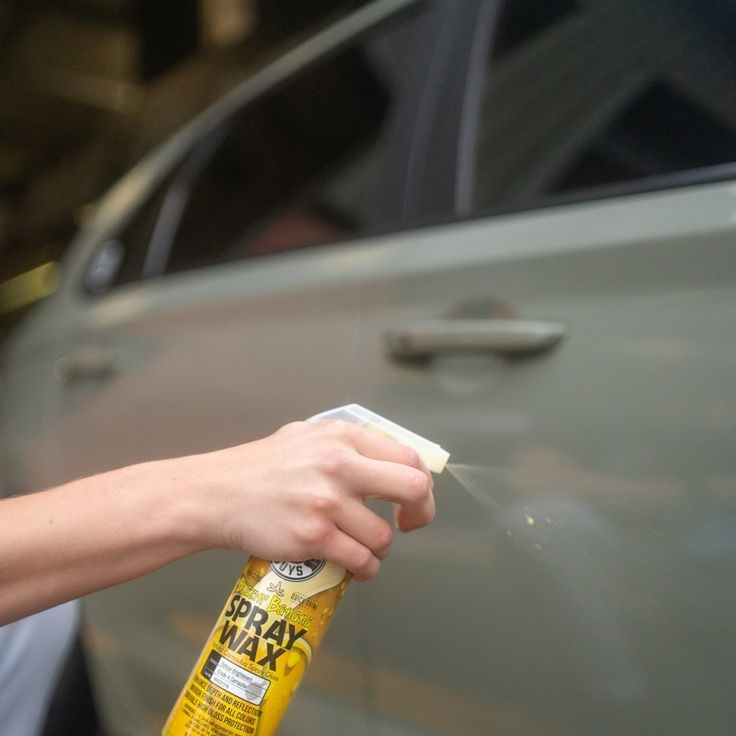
5. Final Steps
Once you’ve removed the dealer decal and cleaned the surface, finish up the process:
- Inspect the Area: Check for any spots you may have missed. Make sure it looks clean and free of adhesive.
- Polish the Surface: Consider applying a wax or polish to the area to protect it and enhance the shine. This adds an extra layer of protection against the elements and helps maintain the vehicle’s appearance.
Troubleshooting Common Issues
1. Stubborn Decals
Sometimes, dealer decals can be particularly stubborn. If you find yourself struggling:
- Reapply Heat: If the decal refuses to budge, reapply heat as necessary. Inadequate heat is often the culprit for difficulty in removal.
- Use More Solvent: If adhesive is particularly thick, it may require more solvent to dissolve. Apply it generously but take care to avoid spills on unintended surfaces.
2. Damage Prevention
To minimize the risk of damaging your car’s finish:
- Avoid Metal Tools: Always use plastic scrapers instead of metal, as they can scratch or chip the paint.
- Work Slowly: Patience is key. Rushing through the process can lead to damage.
Frequently Asked Questions
1. Will removing the dealer decal damage my paint?
If done correctly, the removal process should not damage your paint. Using proper techniques and tools minimizes risk. However, be cautious and take your time.
2. Can I use a razor blade to remove the decal?
Using a razor blade is not recommended because it can easily scratch the paint. Instead, opt for plastic scrapers.
3. How long does it take to remove a dealer decal?
The process typically takes anywhere from 15 minutes to an hour, depending on the decal’s size and adhesive strength.
Conclusion: Enjoying Your Car’s New Look
In conclusion, knowing how to remove dealer decal from car is an essential skill for vehicle owners who want to personalize their rides. With proper tools and techniques, the removal process can be straightforward and satisfying. By following the steps outlined in this guide, you can successfully eliminate unwanted decals, leaving your car looking clean and tailored to your preferences.
Removing dealer decals not only enhances your vehicle’s aesthetic; it also allows you to represent your individuality more clearly. Take pride in your ride and embrace the changes you wish to make. Enjoy driving your freshly decorated vehicle, free from dealer branding. Now it’s your turn to make a statement on the road!