Leather car seats add elegance and comfort to any vehicle, but they can become damaged over time. Scratches, tears, and scuffs are common issues that many car owners face. Fortunately, knowing how to patch leather car seats can save you time and money compared to professional repairs. In this guide, we’ll explore the essential steps to effectively patch leather car seats, ensuring your vehicle maintains its appearance and comfort. Whether you’re dealing with small scratches or larger tears, this process is straightforward and can be done with the right tools and materials.
Assessing the Damage to Your Leather Car Seat
Before you begin the repair process for your leather car seat, it’s essential to evaluate the extent of the damage thoroughly. Start by cleaning the surface to clear any dust and debris, which allows for a closer examination of the tear or hole. Look to see if the damage is superficial, such as a small scratch or scuff, or if it’s a larger tear that might require a more comprehensive approach involving a patch.
Pay attention to the edges of the tear or hole; are they frayed or relatively clean? This will affect how you prepare the damage for patching later on. Also, consider the location of the damage on the seat, because areas that receive high stress, such as the seat surface, may need a more durable repair solution. Taking clear photos at this stage can be helpful for future reference or if consulting with a professional for advice.
Most importantly, assessing the damage carefully will help you determine the complexity of the repair job. This assessment is crucial as it will inform your decision on whether a simple fix would suffice, or if you need to learn how to patch leather car seat with a more advanced technique. Once you’ve evaluated the damage, you’ll be able to decide on the right leather repair kit and approach for the task at hand.
Cleaning the Area Around the Tear or Hole
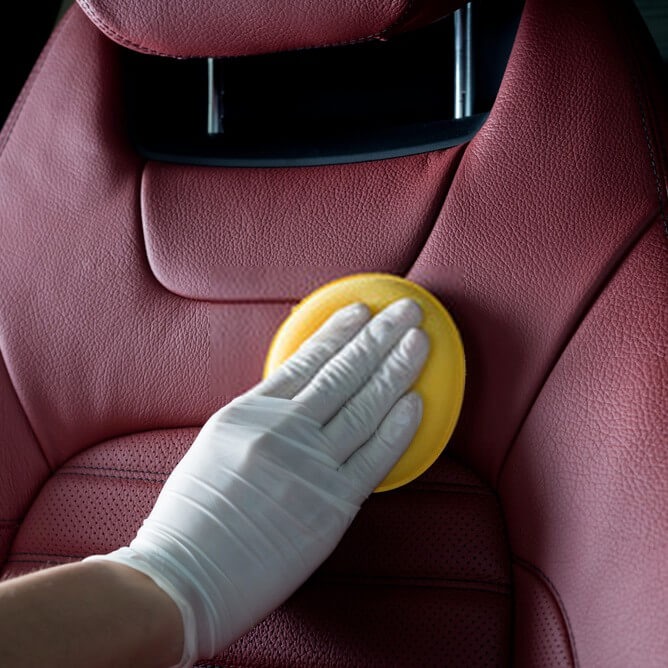
Once you’ve assessed the damage to your leather car seat, the next step is to clean the area. This step is key for a successful repair. Here’s how to ensure a clean surface before you start patching:
- Clear any loose debris: Use a soft brush or vacuum to remove any dirt around the tear or hole. This prevents dirt from mixing with the repair materials.
- Apply a gentle cleaner: Choose a cleaner designed for leather. Apply it to a microfiber cloth, not directly on the leather, to avoid over-saturation.
- Wipe the damaged area: Gently wipe around the tear or hole. Move from the outside in to prevent spreading any grime.
- Dry the area thoroughly: After cleaning, let the leather dry completely. Any moisture left can affect the adhesive’s ability to stick.
- Avoid harsh chemicals: Steer clear of products with alcohol or solvents. They can damage the leather further.
Cleaning prepares the leather for the patching process. It ensures the adhesive and patch will adhere properly to the leather. Make sure the area is clean, dry, and ready for the next steps in how to patch the leather car seat.
Choosing the Right Leather Repair Kit
Finding an ideal leather repair kit is vital for a good patch job. Consider the type and color of your leather car seat when choosing. Let’s explore the factors to keep in mind:
- Match the color: Ensure the kit includes a dye that matches your seat. Color mismatch can make repairs stand out.
- Quality of materials: High-quality materials ensure a lasting repair. Look for kits with good reviews.
- Type of adhesive: The adhesive in the kit should be strong and suitable for leather.
- Ease of use: Pick a kit that comes with clear instructions. It should be user-friendly, especially if you’re a beginner.
- Contents of the kit: A complete kit will have a sub patch material, adhesive, and application tools.
- Compatibility: The kit should work well with your leather type. Check if it’s meant for genuine or synthetic leather.
Remember, the right kit makes a huge difference in how to patch leather car seat effectively. Take time to find the best one for your car’s interior needs. This will ensure the repair blends seamlessly with the surrounding leather and restores your seat to its former glory.
Preparing the Leather for Patching
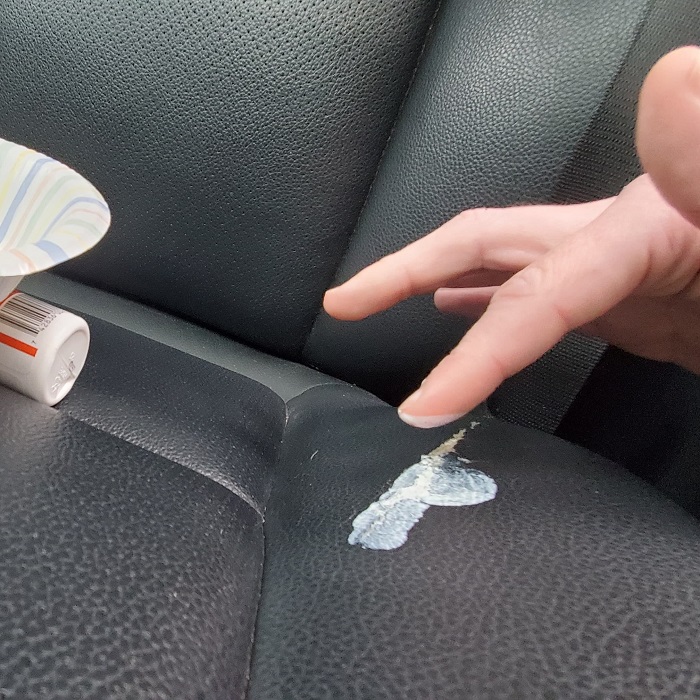
To ensure a successful patch, you must prepare the leather on your car seat properly. Here are key steps to follow:
- Trim any frayed edges: Use a pair of sharp scissors to neatly trim away frayed edges around the tear or hole.
- Sand the area gently: If the leather’s surface is rough or uneven, lightly sand it. Choose a fine-grit sandpaper.
- Clean the surface again: Wipe the area with your leather cleaner and a microfiber cloth. Make sure no dust or leather bits remain.
- Test the adhesive: Apply a small amount of the adhesive on an inconspicuous area. Check for any discoloration or damage.
- Cut the subpatch material: Cut a piece of subpatch material slightly larger than the tear. Ensure it fits smoothly under the damaged area.
- Position the subpatch: Slide the subpatch under the tear. Use a spatula or a flat tool to adjust its position so it lies flat.
By following these steps, you will create a solid foundation for the adhesive and patch to bond strongly. This is a critical part of learning how to patch leather car seat effectively. With a well-prepared surface, you are now ready for the actual application of the leather adhesive and patch.
Applying the Leather Adhesive and Patch
With the leather prepared, you’re now set to apply the adhesive and patch. Here’s how to make sure the repair holds:
- Apply the adhesive: Start by putting a thin layer of adhesive onto the patch or the leather’s surface. For larger tears, spread it beyond the edges slightly.
- Place the patch: Carefully set your subpatch into place. Press it down firmly to ensure it sticks evenly. Keep it smooth, with no wrinkles.
- Add the leather patch: If your repair kit includes a leather patch, position it over the subpatch. Line it up so it blends with the seat’s texture.
- Press out air bubbles: Use a flat tool to smooth out any air bubbles. Starting from the center, push out towards the edges.
- Let the adhesive set: Allow the adhesive time to bond. Don’t rush this step. Follow the kit’s instructions for the best timing.
This stage is crucial for how to patch leather car seat effectively. A well-applied patch and adhesive will set the stage for a solid and invisible repair, returning your leather car seat to a like-new condition.
Drying and Curing Time for the Patch
Once you’ve applied the adhesive and patch, patience is key. Drying and curing are pivotal to ensure a strong bond. Here’s what to do:
- Allow ample drying time: Follow the repair kit’s instructions for drying times. Do not rush this step.
- Avoid using the seat: Keep the area untouched during the drying time. This prevents any shifts or stress to the patch.
- Check the bond: After the suggested drying period, gently test the edges of the patch. Make sure it’s fully adhered.
- Cure under the right conditions: Ensure the temperature is within the recommended range in the kit’s manual. Extreme heat or cold can affect the curing process.
- Patience yields best results: The longer you allow for the adhesive to cure, the stronger the repair will be.
Stick to these drying and curing tips when you learn how to patch leather car seat for repairs that last. A proper cure time ensures the patch fully integrates with the existing seat material, looking and feeling like the original.
Finishing Touches: Dyeing and Conditioning
After the patch fully dries and cures, the final steps are dyeing and conditioning. These ensure your repair blends seamlessly and maintains the leather’s quality.
- Match the dye color: Compare the dye from the kit to your seat. Confirm it’s a perfect match before application.
- Apply the dye: Use a sponge or applicator in the kit. Work carefully, blending the dye into the leather.
- Let it dry: Give the dye time to set. Follow your kit’s recommended drying time for the best outcome.
- Condition the leather: Once the dye is dry, apply a leather conditioner. This will help keep the leather soft and prevent further damage.
- Buff the seat: After conditioning, buff the area gently. Use a soft cloth to restore the leather’s luster.
By taking care to dye and condition the leather, you ensure your car seat looks great and stays protected. This step is crucial in how to patch leather car seat so it retains its original appearance and feel. Keep up with regular cleaning and conditioning to extend the life of your leather seats.
Maintaining Your Repaired Leather Seats
After you’ve learned how to patch leather car seat and gone through the process, it’s crucial to maintain the repaired area to ensure longevity. Proper care will keep the patch intact and prevent further damage to your leather seats. Here are the steps for maintaining your repaired leather car seats:
- Regular cleaning: Gently clean your seats with a leather-safe cleaner. Do this often to keep dirt from building up.
- Apply conditioner: Using a leather conditioner helps keep the material supple. Condition your seats every few months.
- Avoid direct sunlight: Park in shaded areas to prevent sun damage. UV rays can fade and weaken leather.
- Use seat protectors: Consider seat covers or protectors. These can shield seats from spills and wear.
- Limit stress: Try not to put excess weight or sharp objects on seats. Even after patching, leather can be delicate.
- Regular inspections: Check the repair periodically. Look for any signs of wear or loose edges and address promptly.
Follow these steps carefully after you’ve patched your car seat, and with diligent care, your leather seats will continue to look great and serve you well. Remember, the key to lasting results is in the routine care of the repaired leather.