Fixing a tear in a leather car seat can seem like a daunting task, but with the right tools and techniques, it can be accomplished with ease. For those wondering how to fix a tear in leather car seat, understanding the process can not only save time and money but also restore the aesthetic appeal of your vehicle’s interior. This guide outlines the essential steps and considerations when repairing leather seats.
Assessing the Damage
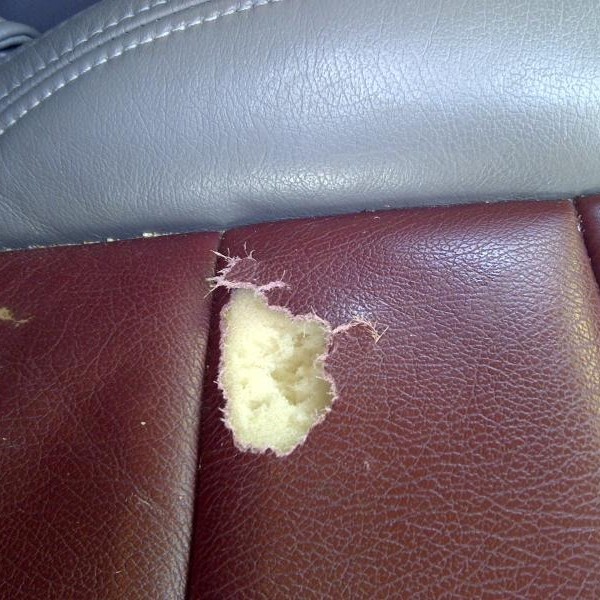
Before diving into the repair process for a tear in your leather car seat, it’s important to evaluate the extent of the damage. Start by cleaning the area around the tear with a gentle, damp cloth to remove any dirt or debris that may interfere with the repair. After cleaning, take a close look at the tear. If the tear is less than 2 inches and not on a seam, a repair kit may do the trick. In the case of a larger tear, or one located on a seam, you might need more advanced techniques or materials to ensure a seamless repair. As you assess, also note the texture and color of the leather, as these factors will influence how you approach patching and dyeing the repaired area later on. Keep in mind that precision in this step lays the groundwork for a successful repair, as understanding the extent of the damage will help you gather the appropriate materials and apply the right methods to fix your leather car seat.
Gathering Your Materials
Once you understand the size and location of the tear in your leather car seat, gather the necessary materials for the repair. Here is a basic list of what you will need:
- Leather repair kit: This should include sub-patch material, leather adhesive, and a palette knife.
- Scissors: For cutting the sub-patch to the right size.
- Leather dye: Find a color that matches your car seat.
- Foam sponges and brushes: For applying dye and conditioner.
- Leather conditioner: To protect and soften the leather post-repair.
- Clean cloths: For cleaning the seat and buffing in dye.
- Fine-grit sandpaper: If needed, to smooth edges around the tear.
Most items are included in a standard leather repair kit, but ensure you have everything before starting. Choose products designed for car upholstery to ensure they can withstand wear and sunlight without fading or cracking. Assemble your tools in a clean, well-lit workspace. With all materials on hand, you’re ready to move on to preparing the leather surface for repair.
Preparing the Leather Surface
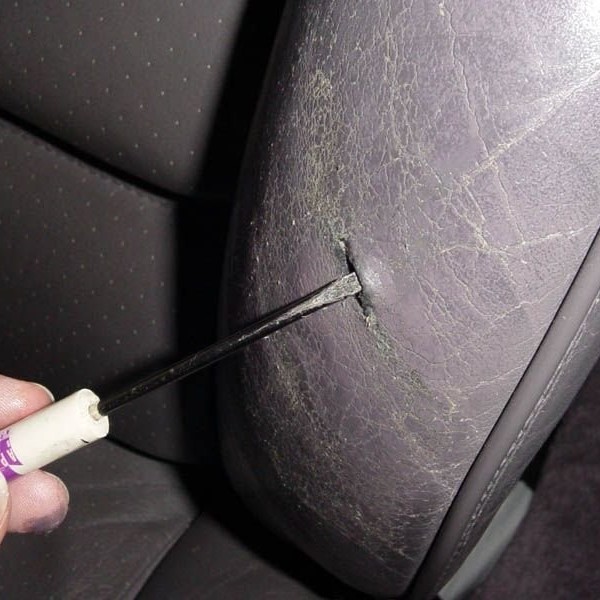
Proper preparation of the leather surface is key for a smooth repair. Start by using fine-grit sandpaper to gently sand around the tear. This helps to remove any rough edges and creates a better surface for the adhesive to bond to. Be cautious not to sand too vigorously, as this can cause more damage to the leather car seat.
Next, you’ll need to clean the area thoroughly. Use a mild leather cleaner and a soft cloth to wipe down the surface. This ensures that there’s no dirt, oil, or residue that could prevent the adhesive from sticking properly. Allow the leather to dry completely before moving on to the next step.
If your leather repair kit came with alcohol wipes, use them to give the area one final cleanse. Wipes designed for leather are mild and won’t harm the material while providing a pristine surface.
Once the leather surface is prepped and dry, it’s prepped for the adhesive application. Ensuring your work surface is clean, dry, and ready will go a long way in making the repair process successful and seamless. Keep the area well-lit so you can spot any imperfections and address them immediately as you learn how to fix a tear in your leather car seat.
Applying the Leather Adhesive
After prepping the leather surface, it’s time to apply the adhesive. This step is critical for a strong bond and a lasting repair. Follow these pointers to ensure a solid application:
- Choose the Right Adhesive: Use the adhesive included in your leather repair kit. It’s formulated specially to bond with leather.
- Apply Sparingly: A thin layer is all you need. Excess glue can create bumps or seep out.
- Precise Placement: Carefully apply the adhesive only on the edges of the tear. This prevents stiffness over the leather surface.
- Work Quickly: Leather adhesives dry fast. Spread the glue swiftly to avoid premature drying.
- Apply Pressure: Press the edges of the tear together gently. Secure them in place until the adhesive sets, as per the instructions on the repair kit.
- Let it Cure: Give the adhesive ample time to dry, usually a few hours. Check the kit’s guidelines for exact drying times.
Accurate application of leather adhesive is the foundation of how to fix a tear in your leather car seat. By doing this step correctly, you’ll ensure that the patch holds firmly and blends seamlessly with the surrounding material. Allow the adhesive to fully cure before moving on to the next step to patch the tear.
Patching the Tear
Now that you have applied the adhesive, the next step in repairing your leather car seat involves patching the tear. Here is what you need to do:
- Cut the Sub-Patch Material: Measure the tear and cut a piece of sub-patch material. Make it slightly larger than the tear.
- Insert the Patch: Slide the sub-patch beneath the torn leather. This provides a backing for the repair.
- Apply More Adhesive: If your kit advises, add a bit more adhesive to secure the patch.
- Smooth It Out: Press down on the patch firmly. Make sure there are no air bubbles or wrinkles.
- Allow It to Dry: Leave the patch to set. Follow your repair kit’s instructions for drying time.
By patching the tear correctly, you reinforce the strength and restore the appearance of the leather seat. Patience is key—make sure you give the glue enough time to cure for a durable fix. Next, you’ll need to dye the repaired spot to blend it with the rest of the leather seating.
Dyeing the Repaired Area for a Match
After patching the tear, the next crucial step is to dye the repaired area. This step will help blend the repair with the rest of your leather car seat. Use the following guide to ensure a seamless match:
- Choose the Right Color: Select a leather dye that matches your car seat’s original color.
- Test First: Apply a small amount of dye to an inconspicuous area to test for color match.
- Apply the Dye: Use a foam sponge or brush to gently apply dye over the repaired spot.
- Layer the Dye: Build up the dye in thin layers, allowing it to dry in between.
- Buff it Out: Once the dye is dry, lightly buff the area with a clean cloth for evenness.
Take your time with each dye layer to ensure the colors blend well. If the dye appears too dark, you can lighten it by applying a small amount of leather conditioner. Allow the dyed area to dry completely before use. This attention to detail in dyeing assures that your leather car seat looks as good as new, hiding the evidence of the tear.
Conditioning the Leather
Once the dye has completely dried, it’s time to condition the leather on your car seat. This step is important for keeping the leather supple and preventing further damage. Here’s how you care for the treated area:
- Choose a Quality Conditioner: Pick a leather conditioner that’s suitable for automotive upholstery.
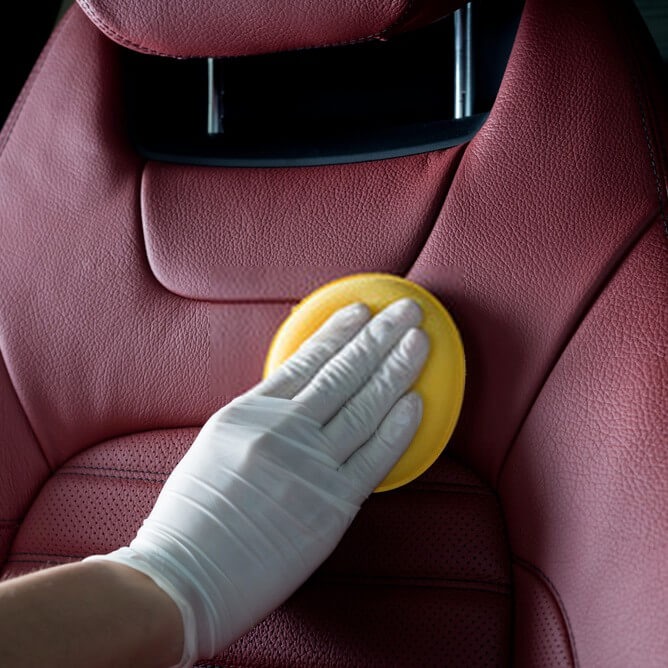
- Apply a Thin Layer: Using a soft cloth, work a small amount of conditioner in a circular motion over the area.
- Allow Absorption: Let the conditioner penetrate the leather; this may take some time.
- Buff Off Excess: After the conditioner is absorbed, gently buff off any excess with a clean cloth.
- Repeat if Needed: For best results, apply conditioner every few months to maintain the leather’s quality.
Conditioning not only brings back the shine but also protects the dye from wearing off quickly. For long-lasting results, ensure the leather doesn’t dry out or become brittle. Remember to treat your entire leather car seat with conditioner, not just the repaired spot, to keep the whole seat uniform and well-protected.
Professional Repair Options
Sometimes, a tear may be too large or complex for a DIY fix. In such cases, you might opt for professional repair options. Professionals have the skills and tools to handle larger tears or those located in difficult areas.
- Automotive Upholstery Shops: Specialize in car seat repairs and can match leather exactly.
- Leather Repair Specialists: Focus on a variety of leather goods, including car seats.
- Mobile Repair Services: Offer convenience by coming to you to perform the repairs.
These pros use advanced techniques like leather re-upholstery or complete seat replacement, if necessary. They may also provide a warranty for their work, giving you extra peace of mind. While professional repairs can be more costly, they are a good investment to ensure your leather car seat looks its best and maintains its value. Remember to review the specialists’ past work and read customer reviews to choose a reliable expert. When trying to fix a tear in your leather car seat, consider these options if the job seems too daunting or if the tear is significant.
